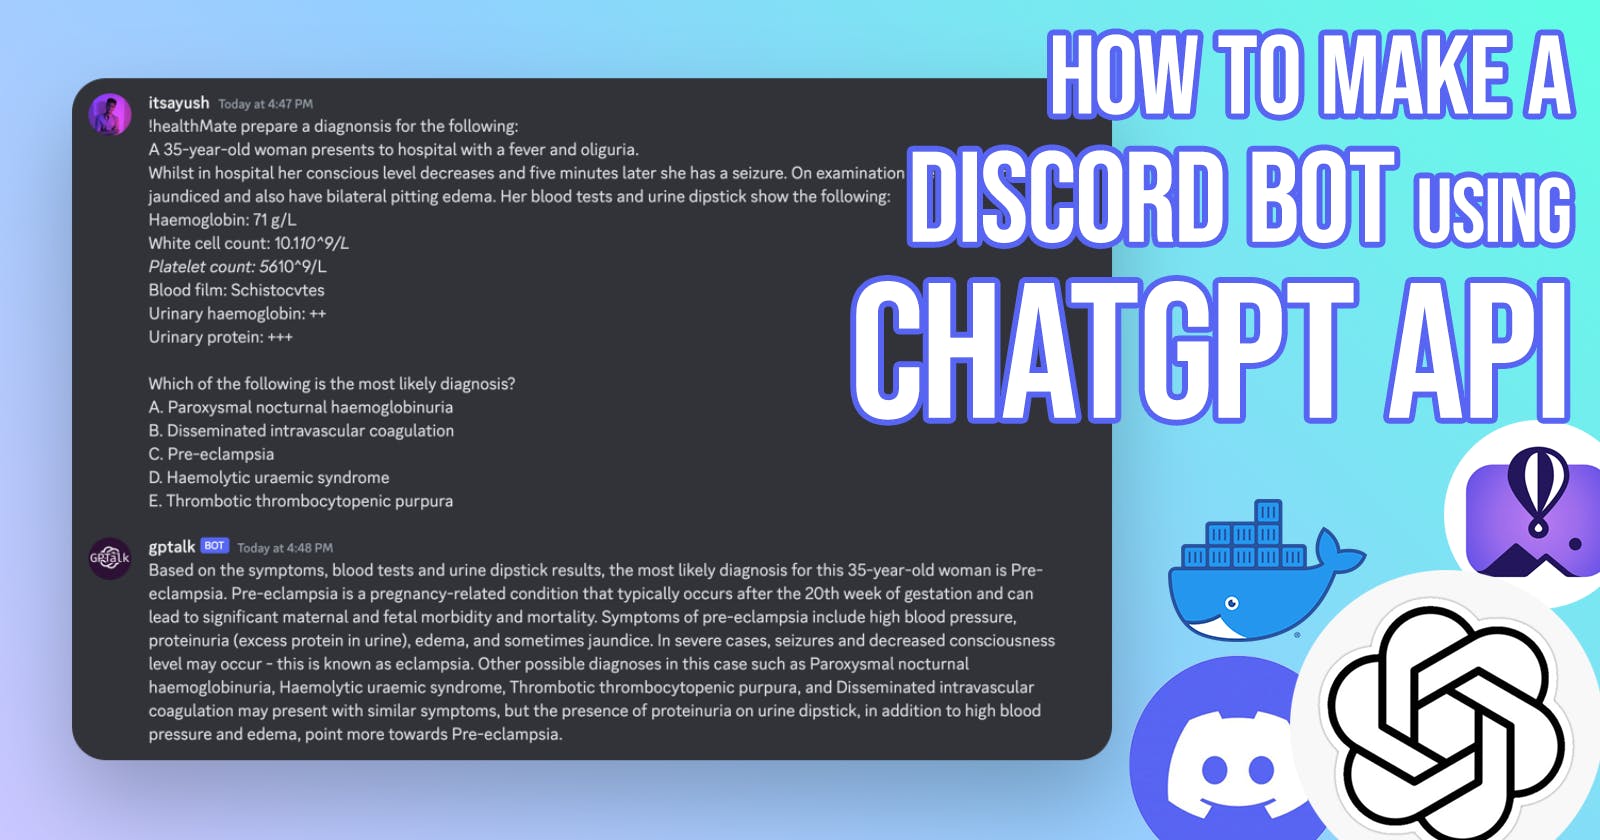


Introduction
In this blog, I am going to teach you how to create a Discord bot using ChatGPT API and then successfully deploy it using Docker and Fly.io. Don't worry even if you don't know how Docker and Fly.io works. I am going to explain every step easily. Please like the blog if you think this blog added some value to your knowledge. So let's get started quickly!
Getting Discord API key
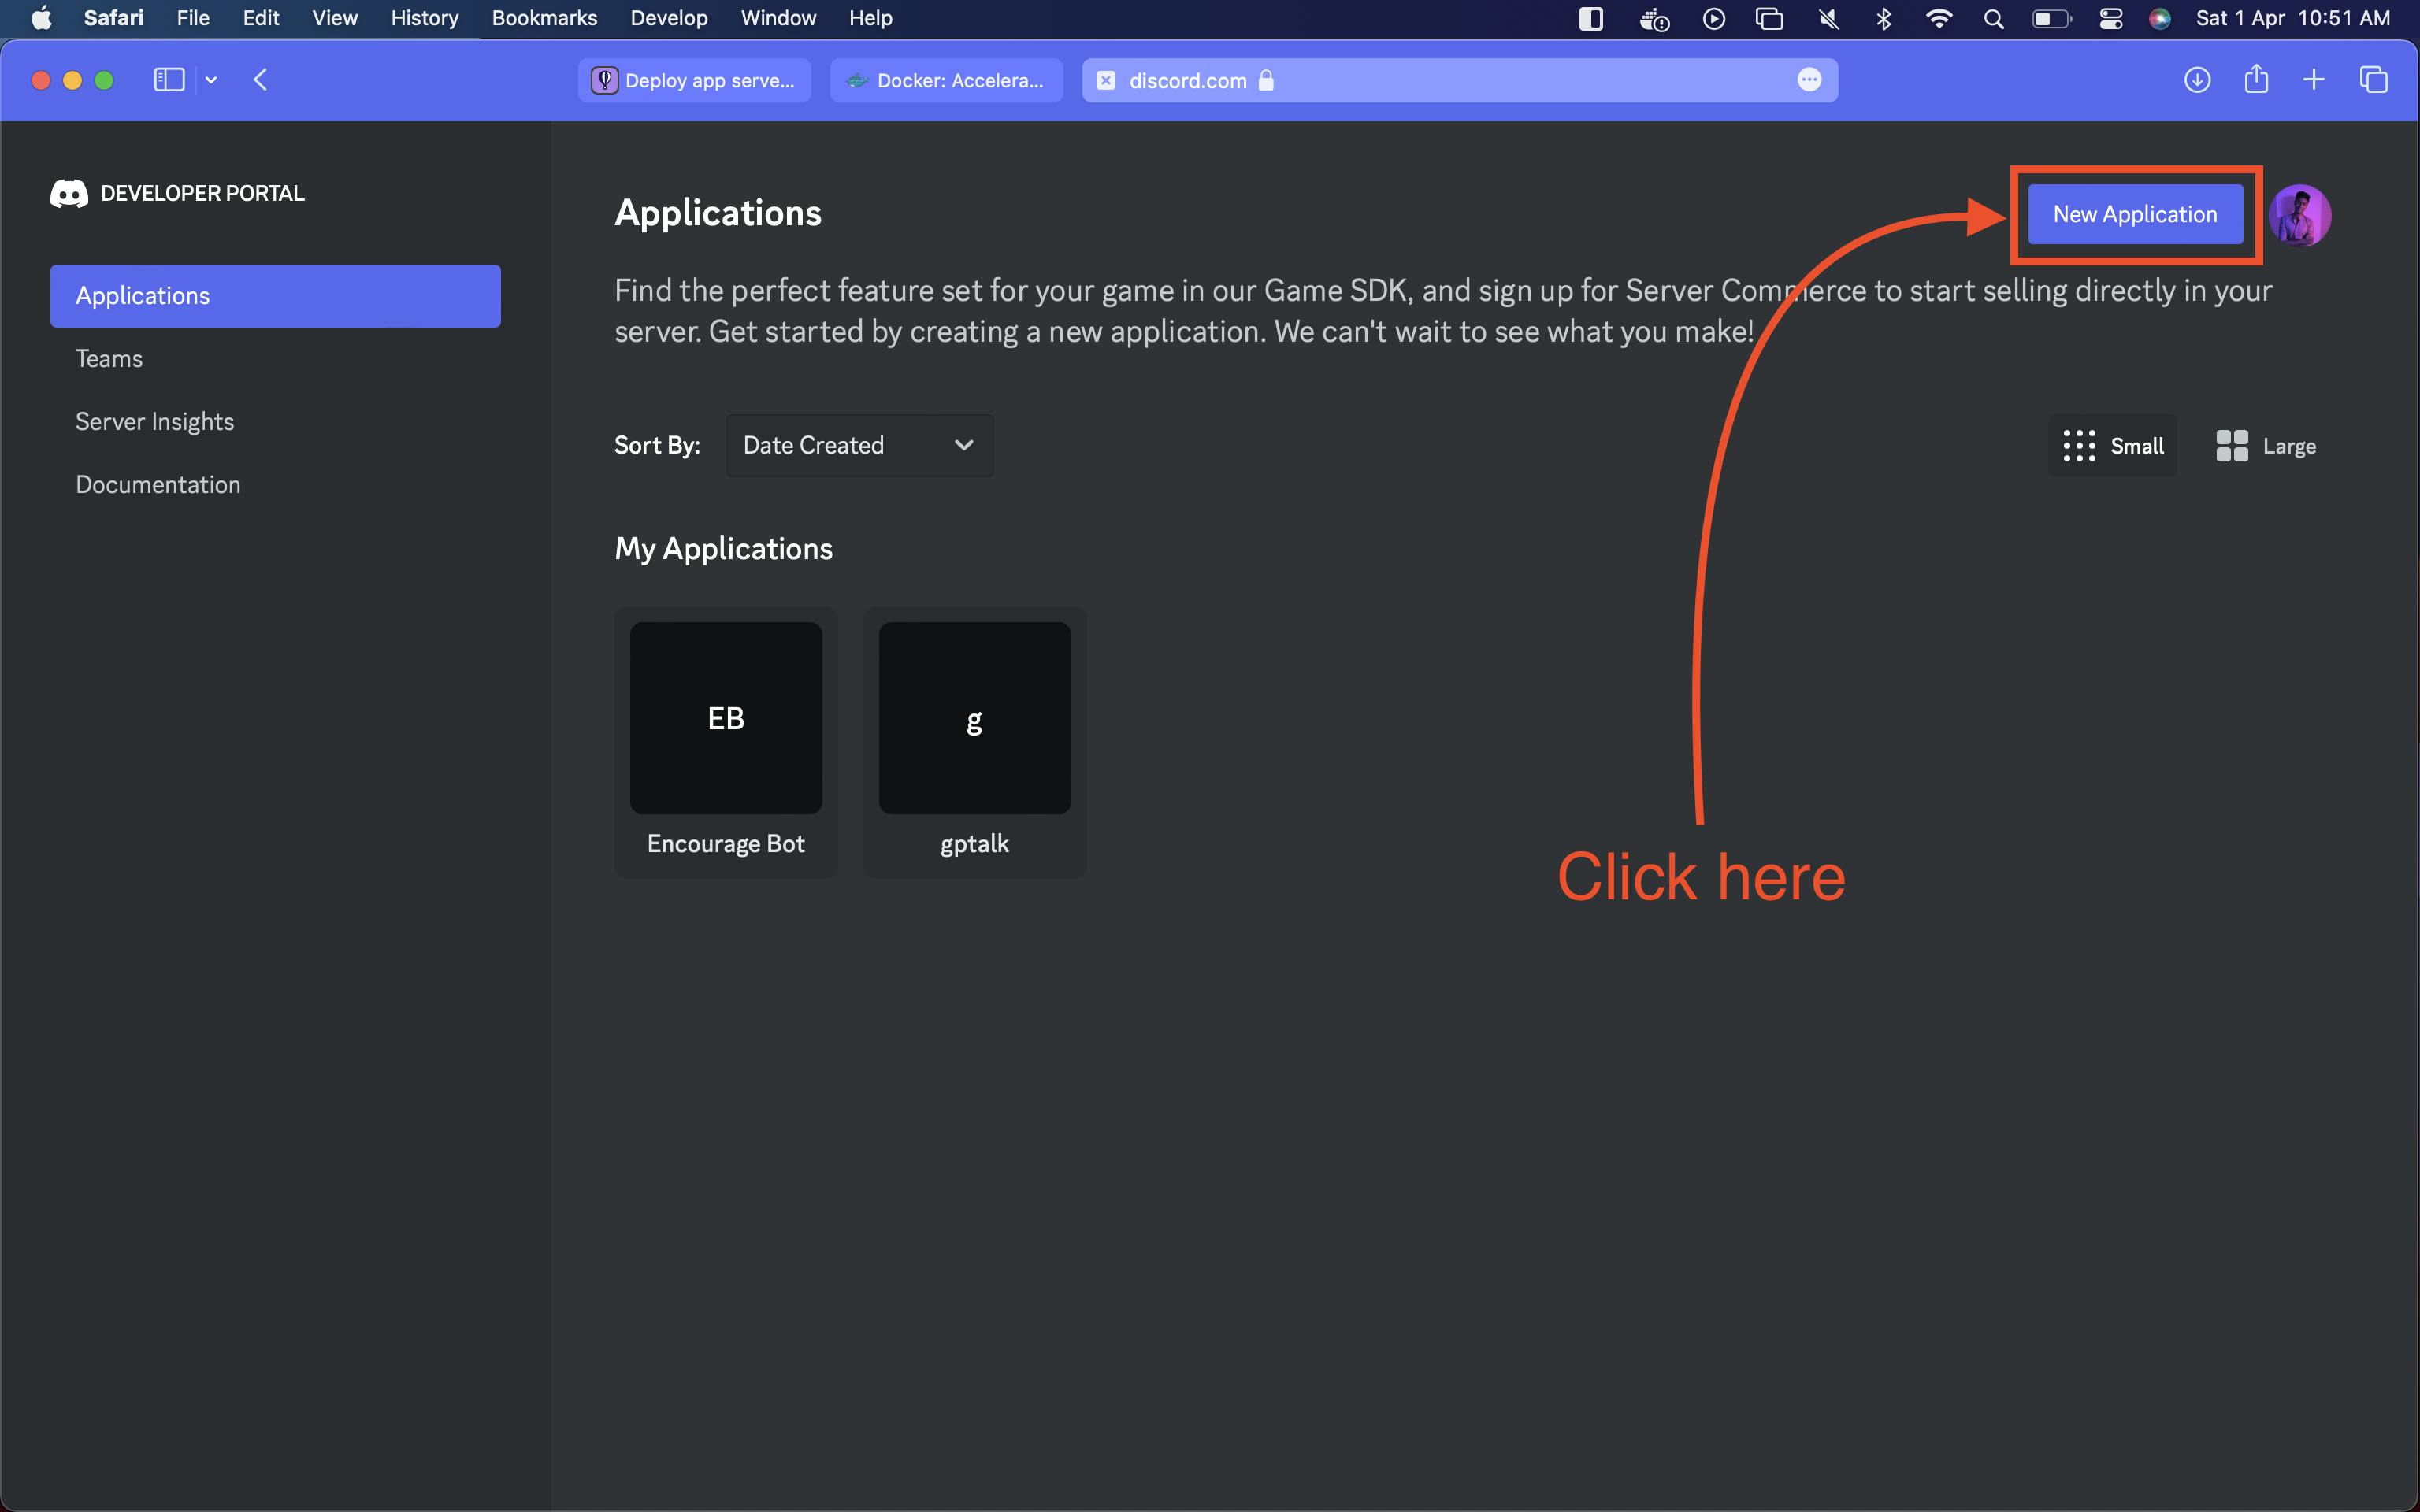
First, you need to sign-up/login to the Discord Developer portal. Go to the portal and then connect your Discord account. After you are done with that, open the portal and click on "New Application".
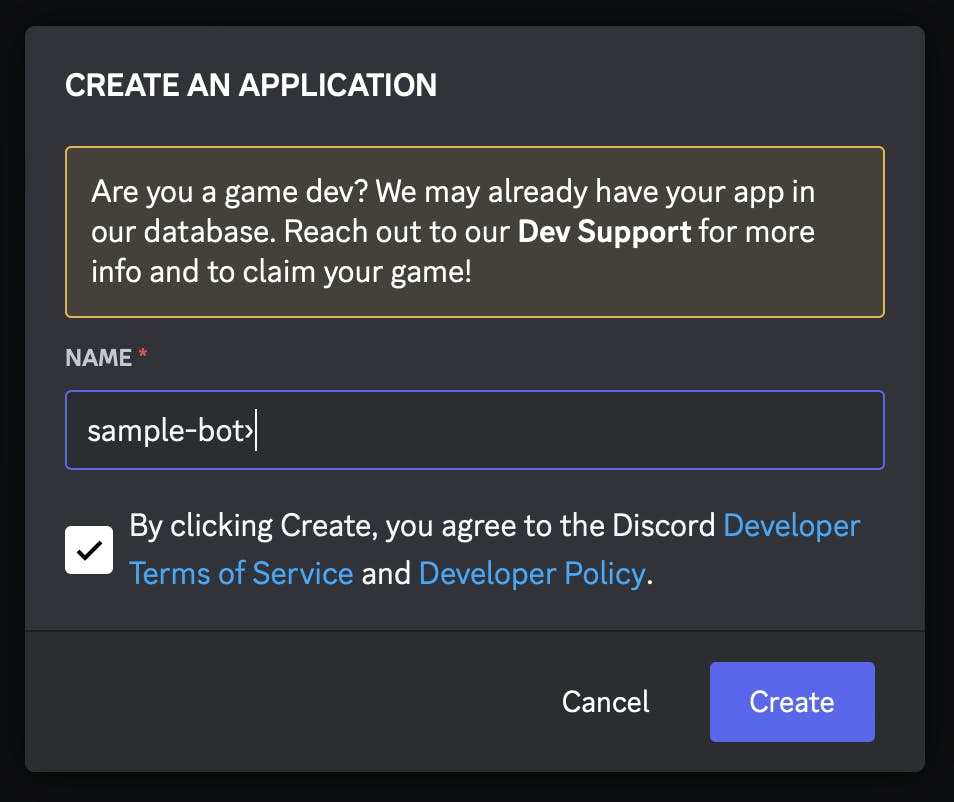
Then give a sample name to the application. I gave the name sample-bot. Then click on "Create".
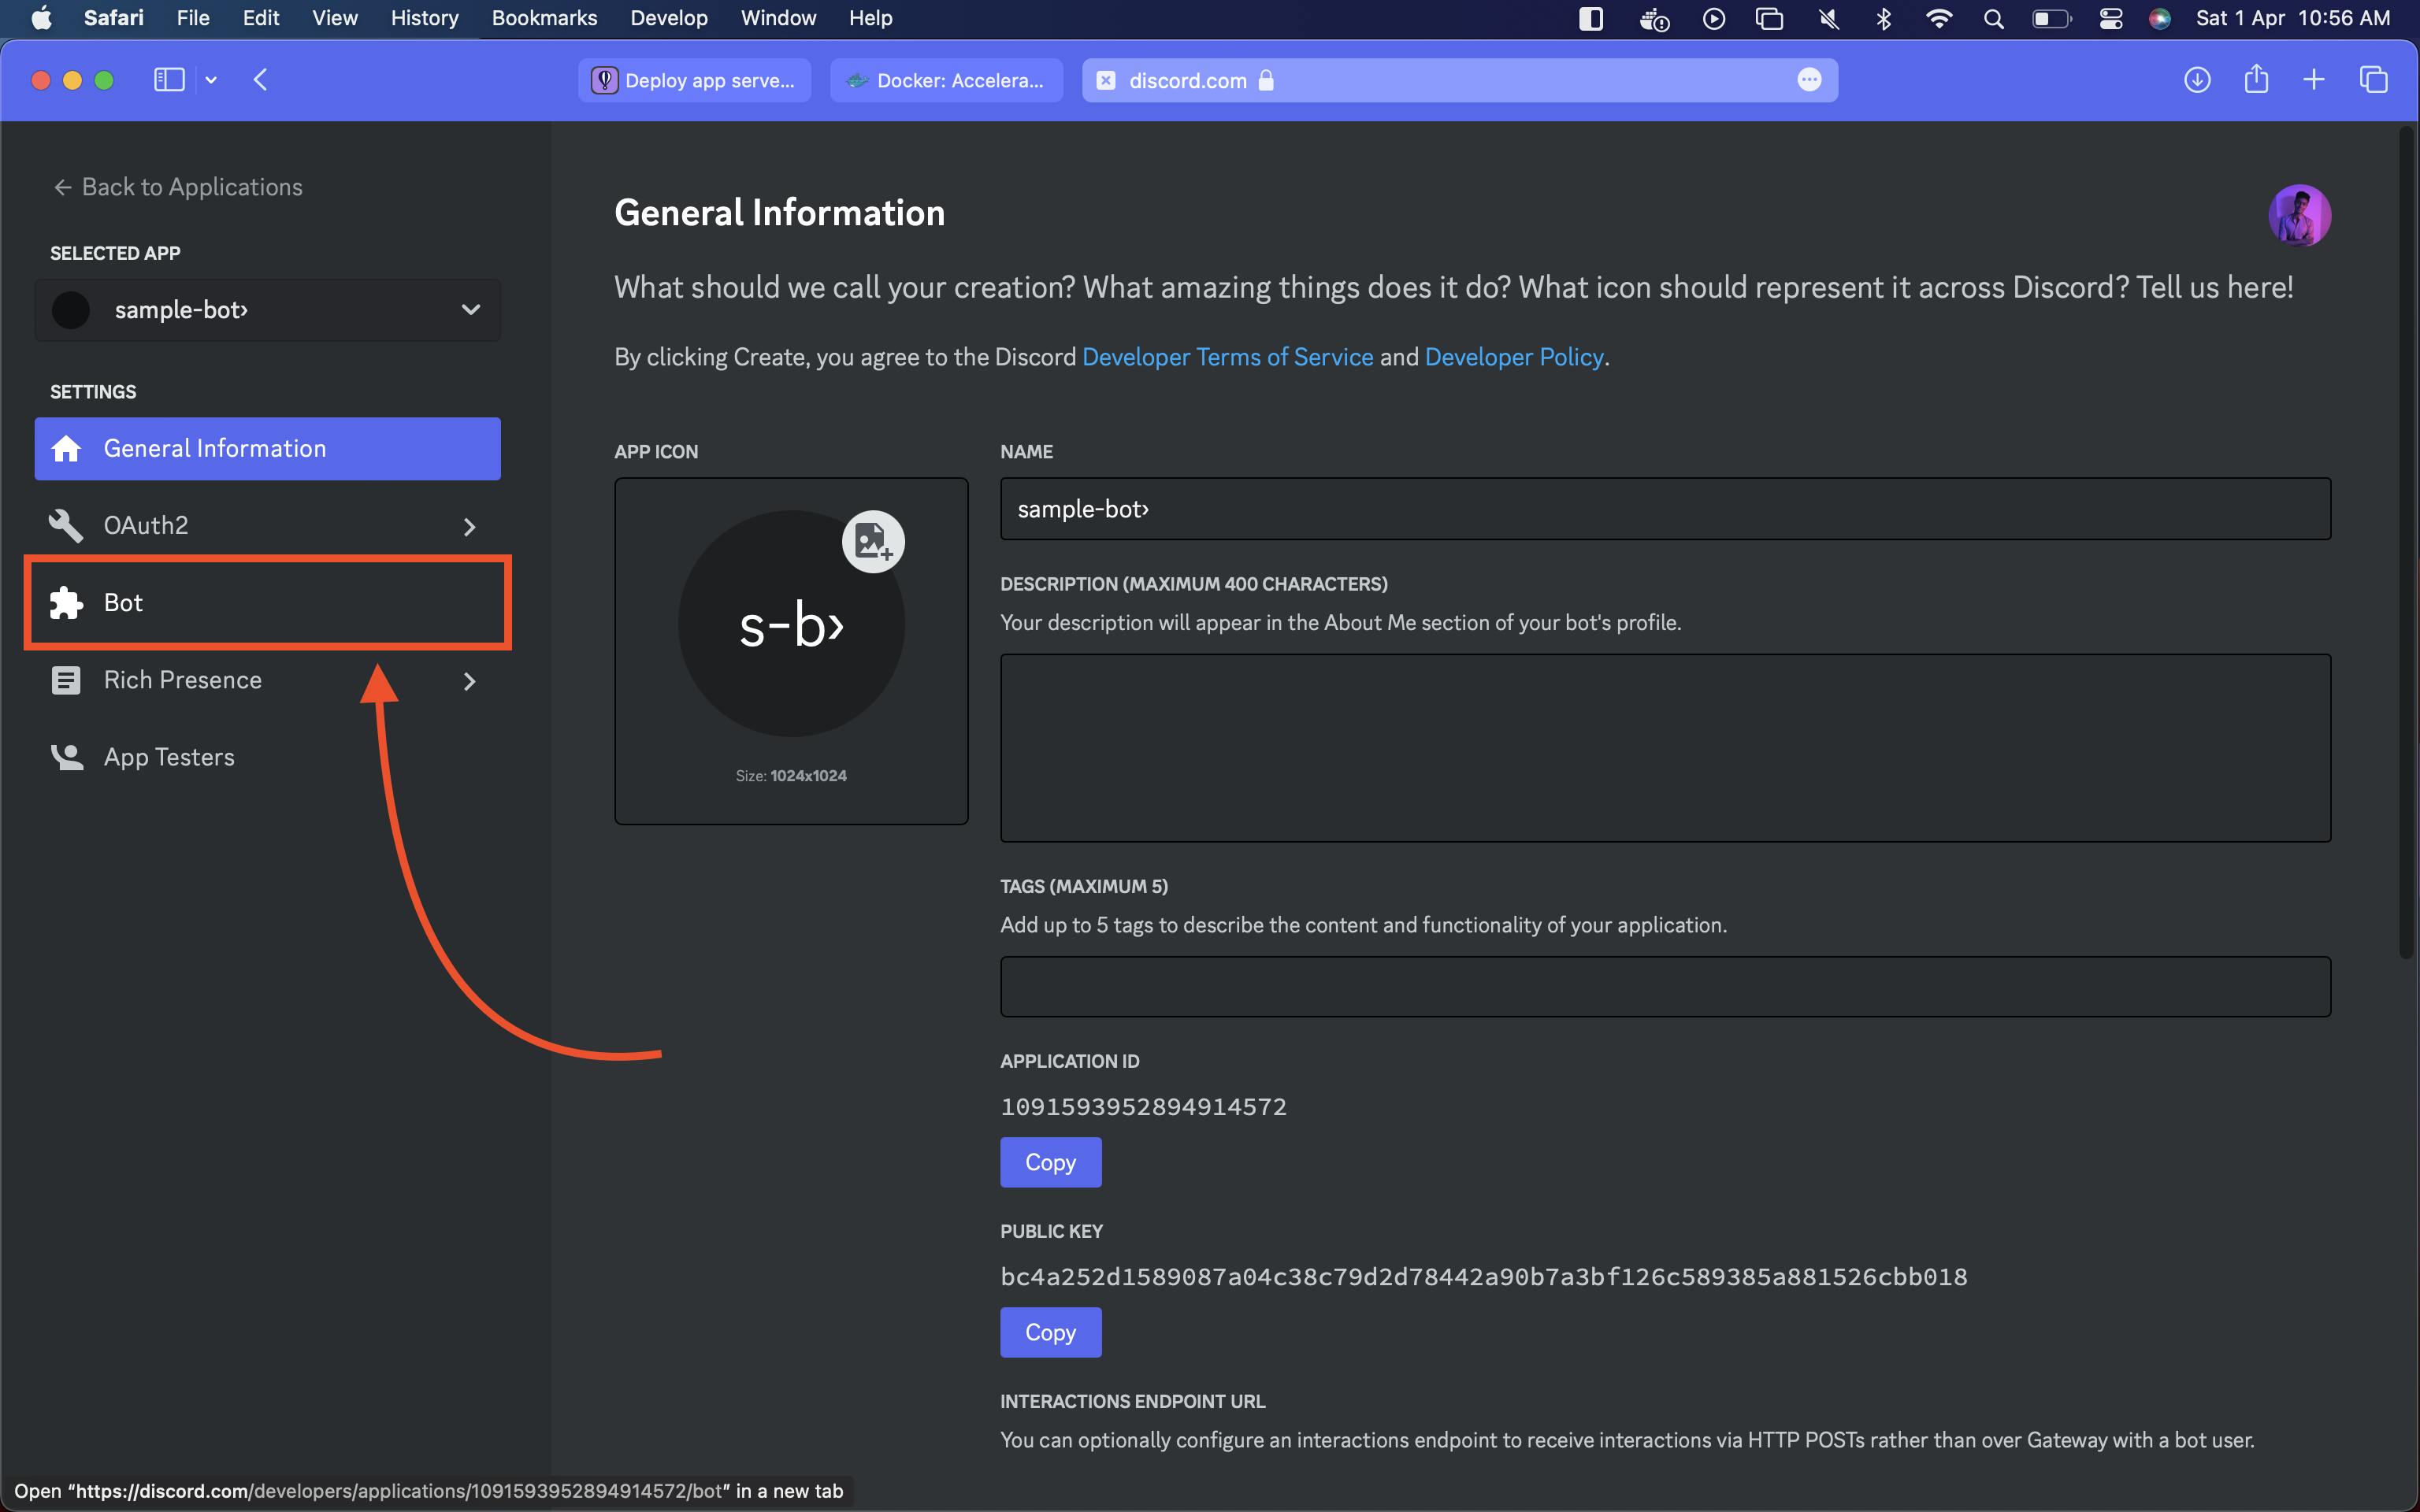
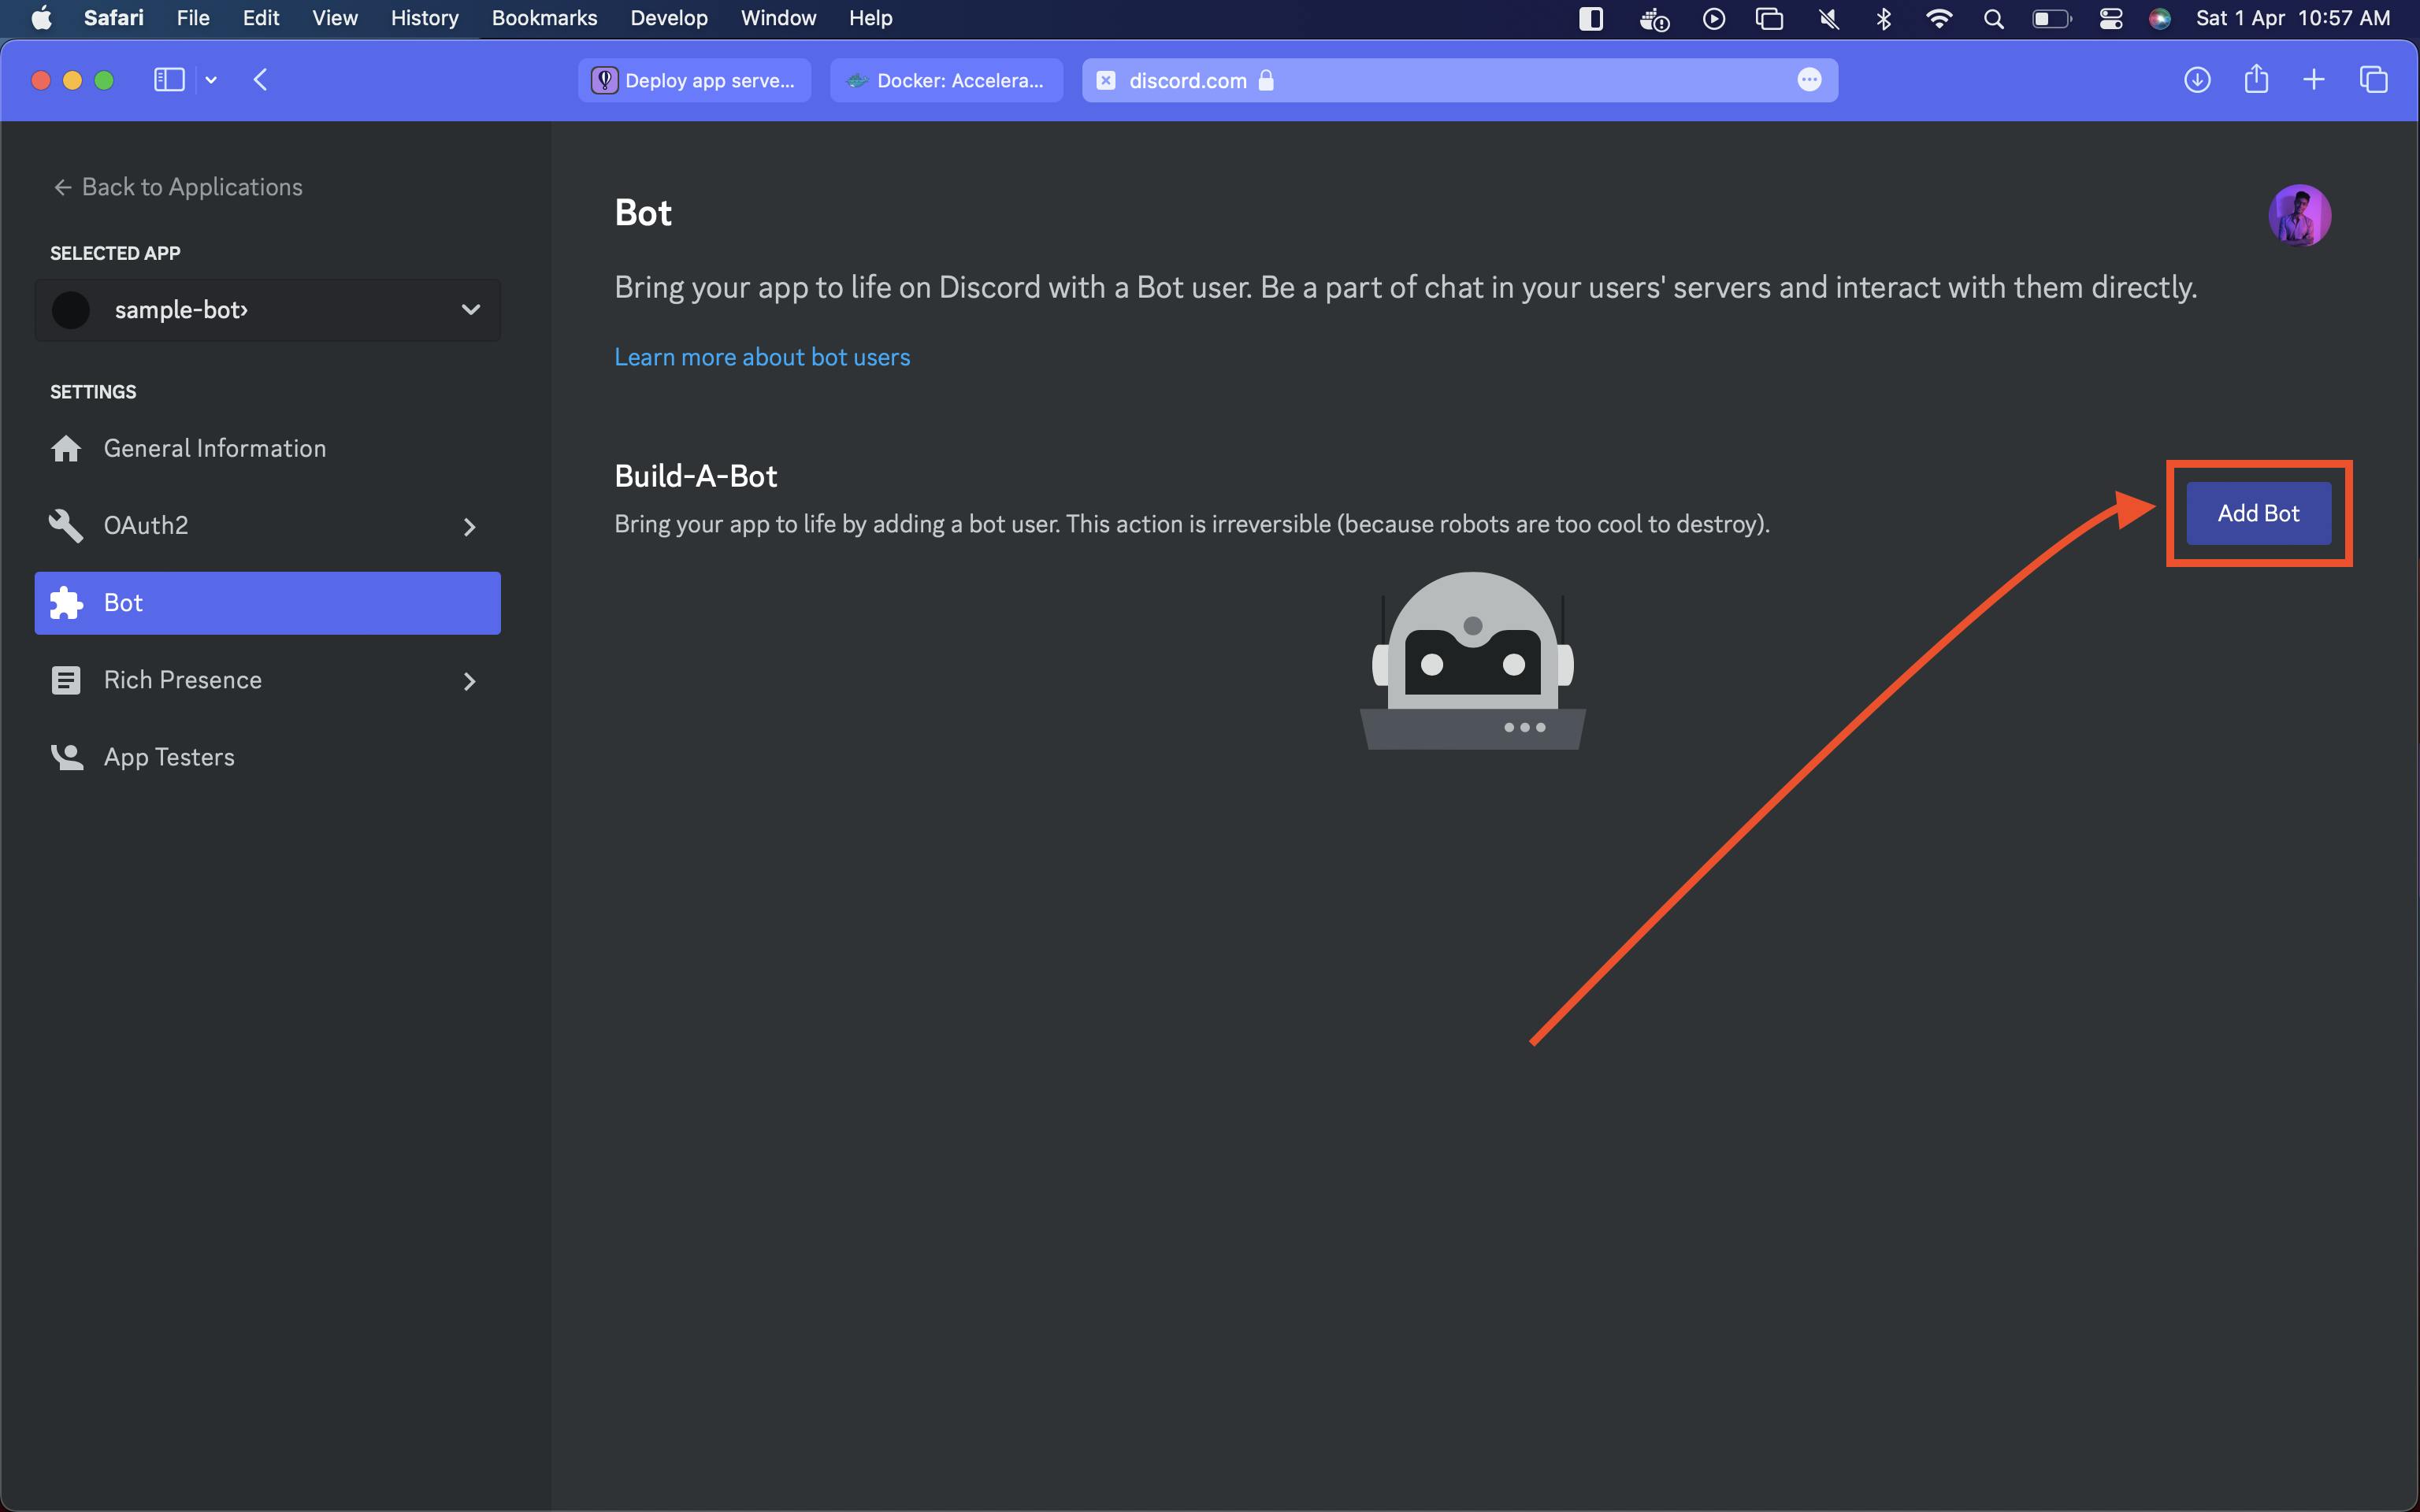
By default, the General Information portal would open. Then on the left sidebar, go to "Bot".
Click "Add bot"
Scroll down and check the "Message Content Intent"

Scroll up and copy the private token(don't disclose it to anyone).

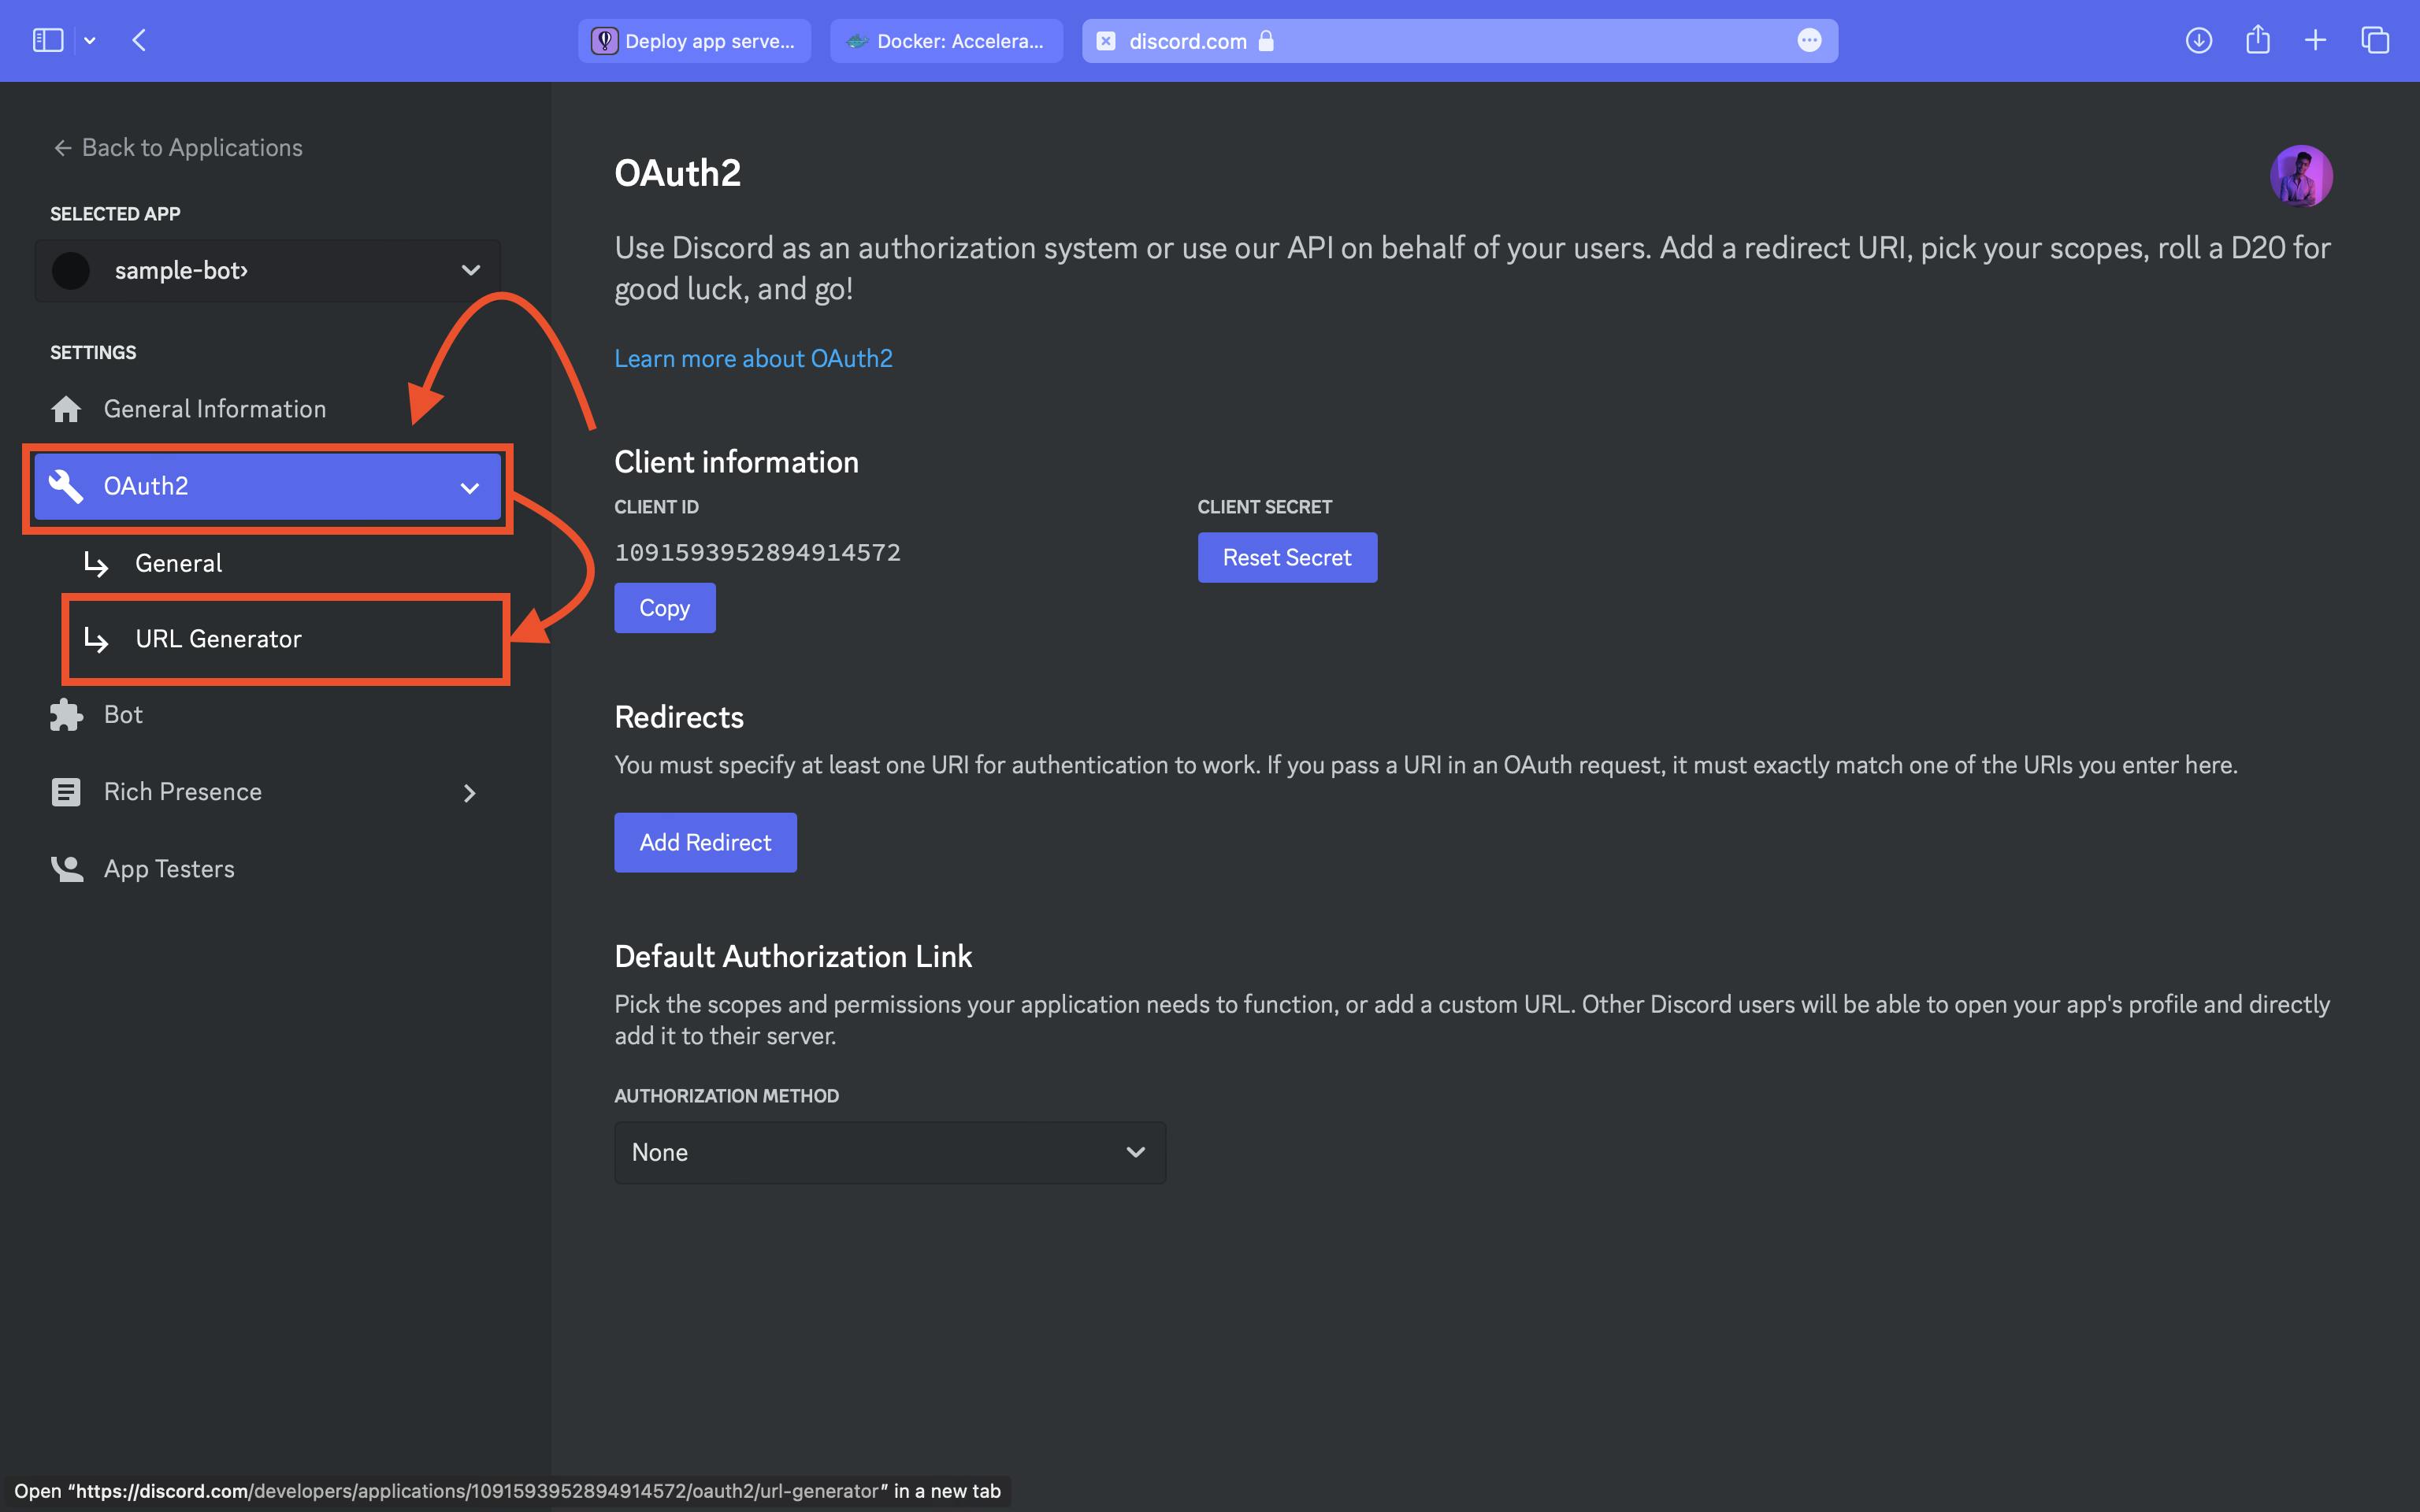
Then go to OAuth->URL Generator.
In scopes, check the box that says "bot".
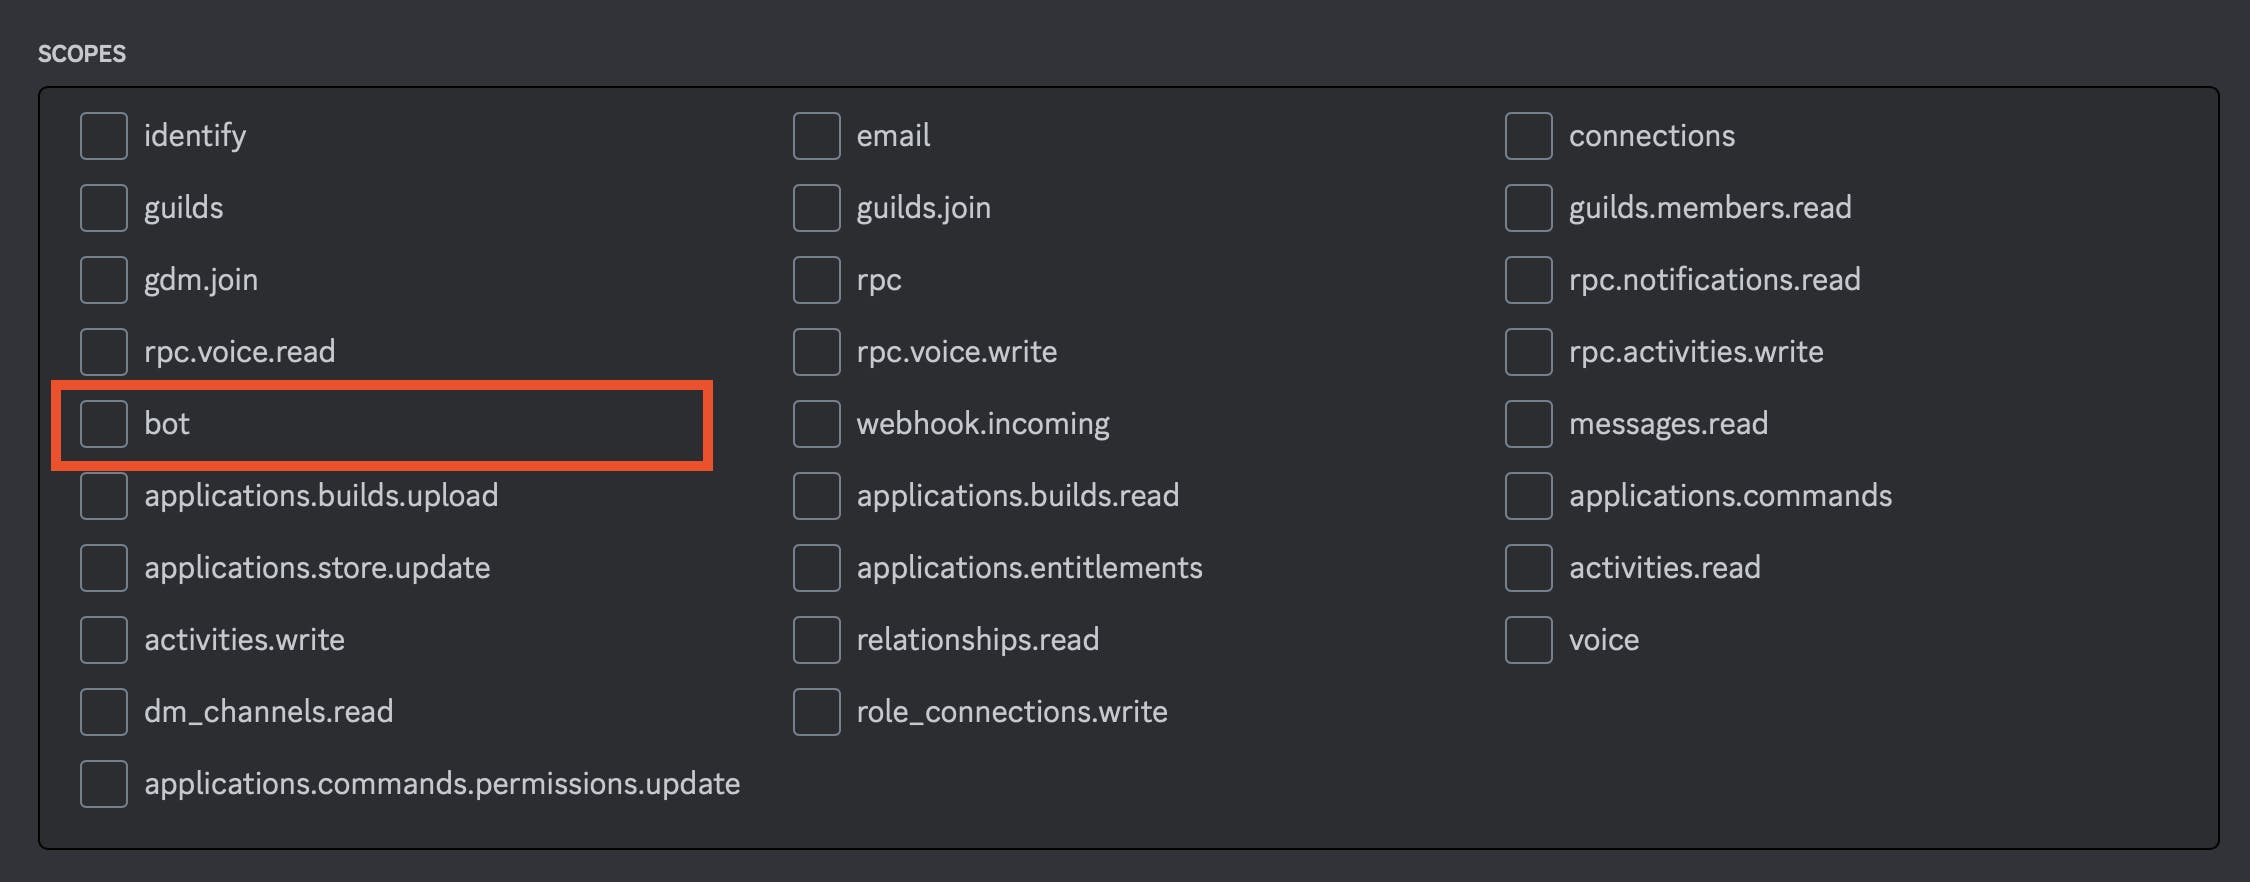
Then another card of bot permissions will pop up. Check these boxes and copy the link below.

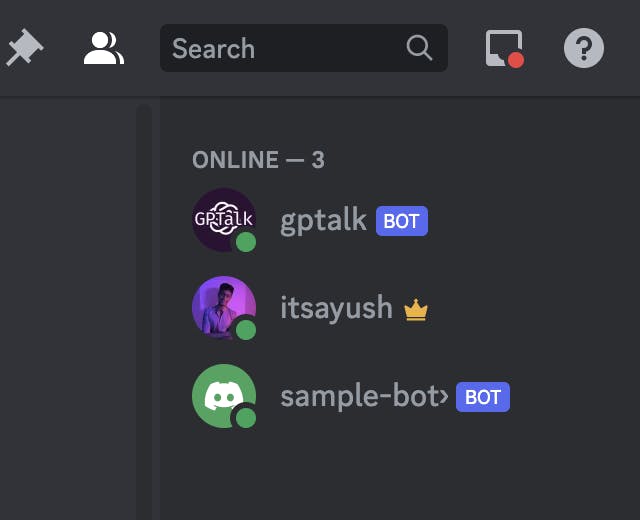
Use the above "GENERATED URL" to invite the discord bot to your or any other server you like. It is a public link and anyone who has this link can invite your bot to their server. Now if you invite the bot to your server it would look something like this:
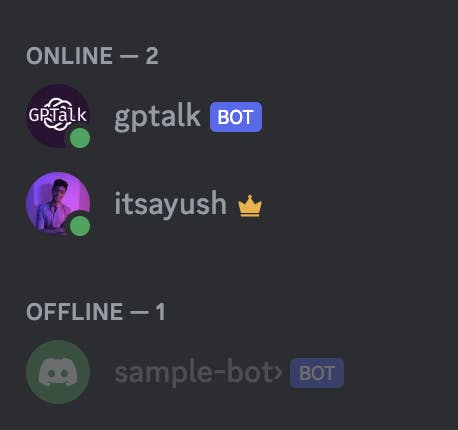
The bot would be offline because we haven't built the bot and/or deployed it yet.
So let's continue...
In the project folder, make a folder called tokens and make a .env file. Inside the folder and paste the token you copied from discord like this. Don't try to copy my token, I have already deleted it after writing this blog XD.

Getting OpenAI API key
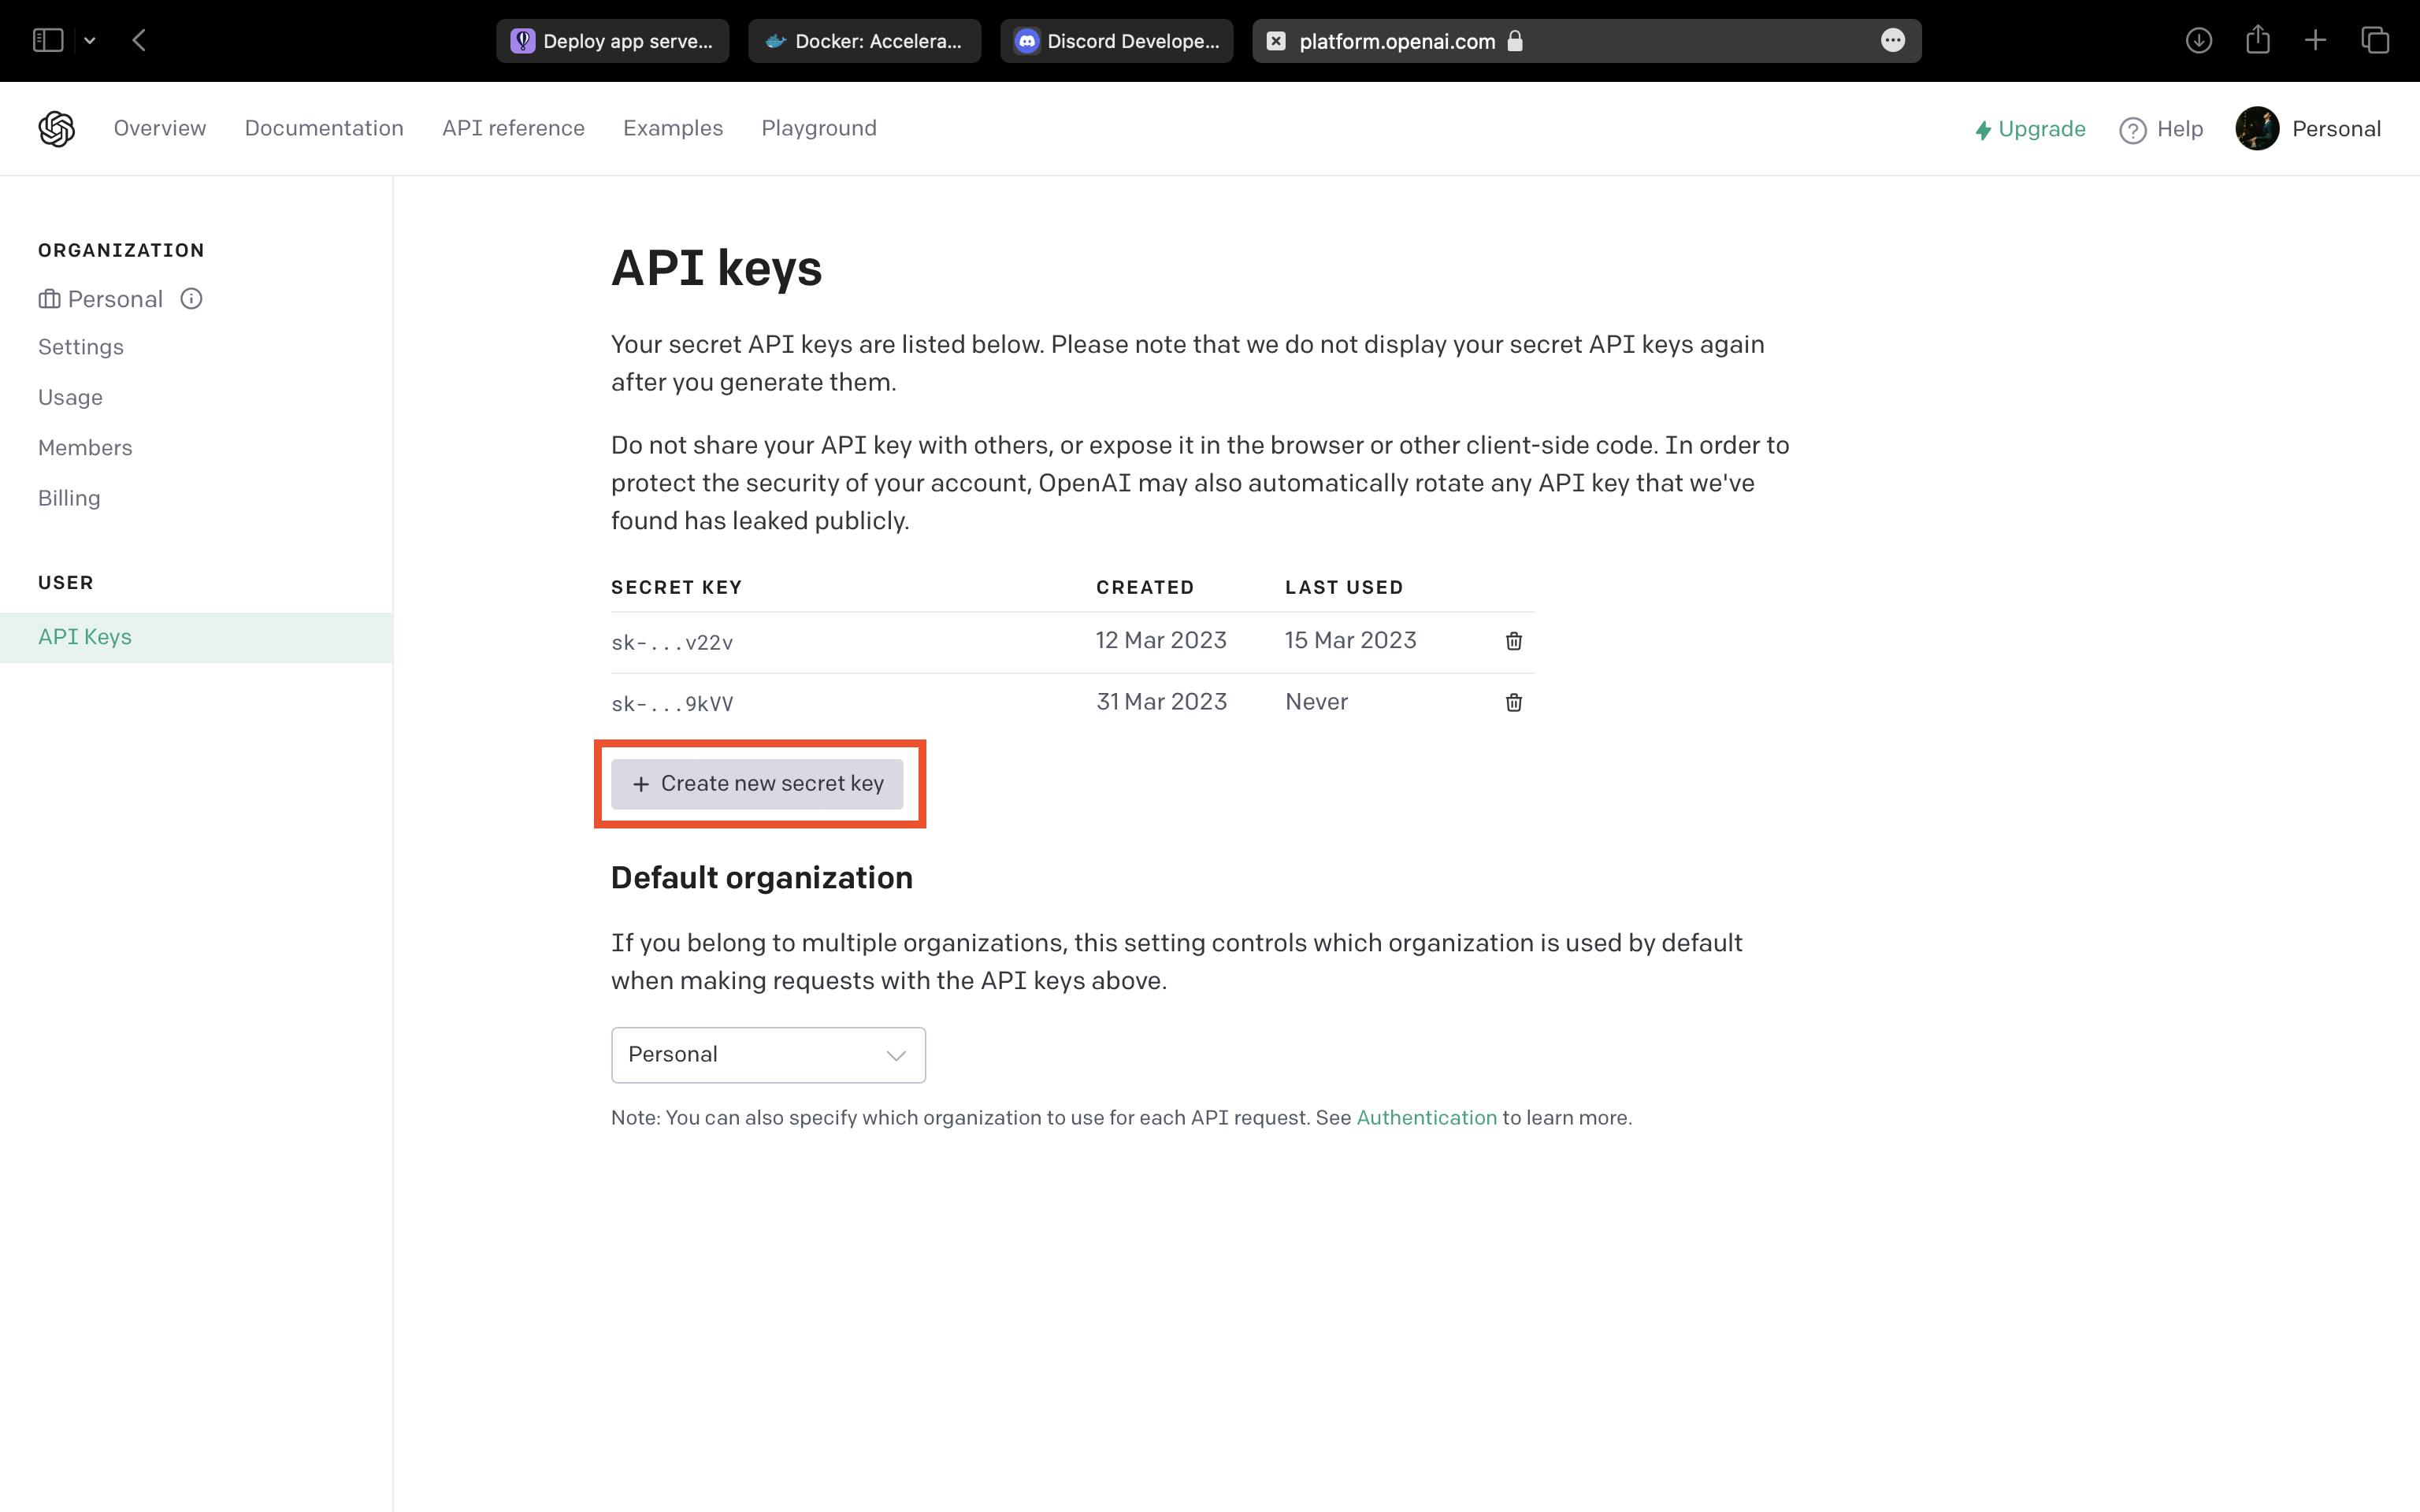
Now we need an OpenAI API key. For that go here. Make an OpenAI account if you don't have one. Click on "Create a new secret key".
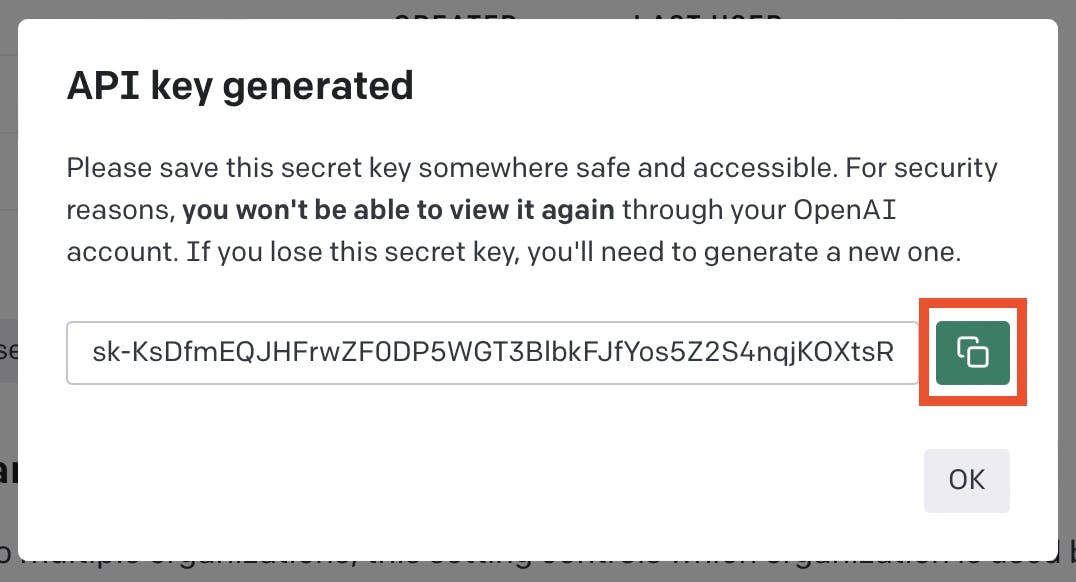
Copy the generated key.
And paste it like this in the .env file.

Coding the bot
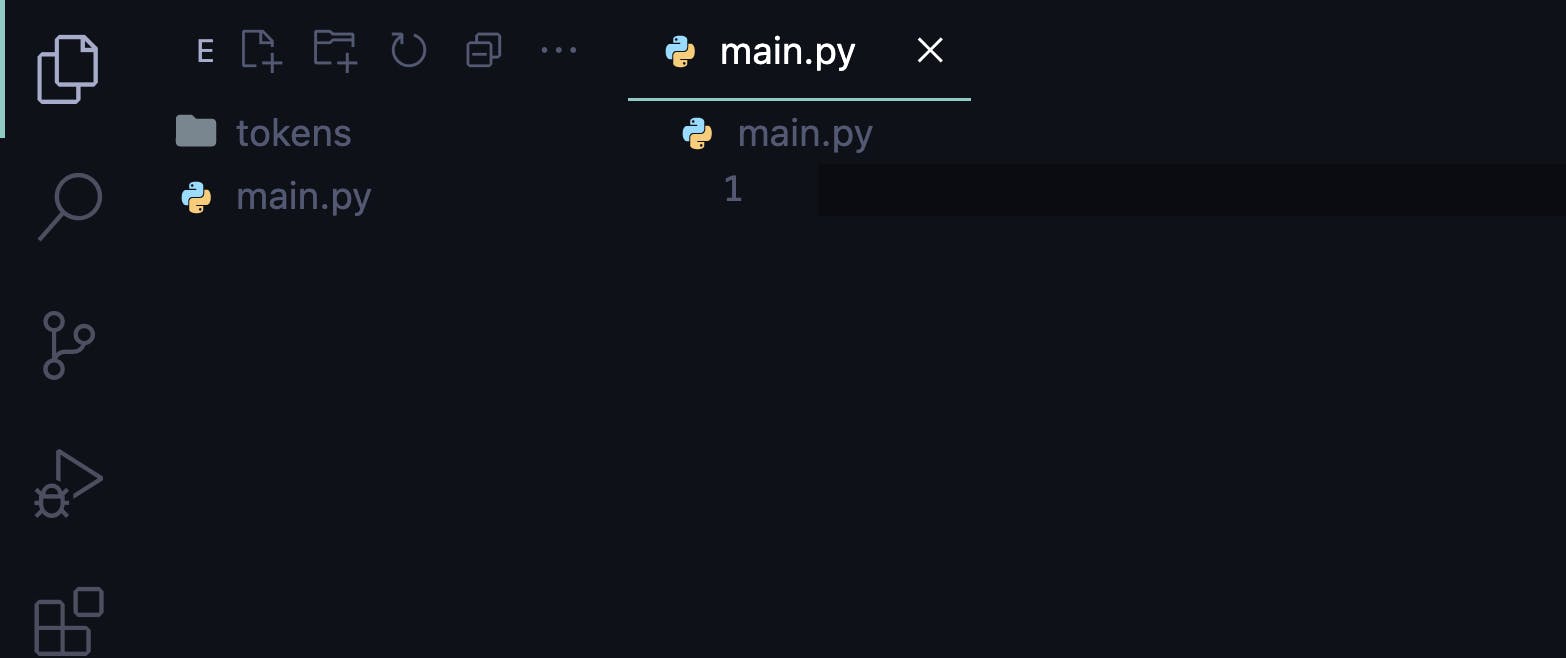
Now create a main.py file in your project's root folder.
Now open the terminal in VSCode and install discord-py, openai, and python-dotenv pasting the below code in the terminal.
pip install python-dotenv discord-py openai
Now we start writing the code in main.py file. The first step is importing the libraries:
import discord
from discord.ext import commands
import os
import openai
from dotenv import load_dotenv
The next step is loading and assigning the tokens. Also, we set the command prefix for the bot as "!". You can use any other symbol you like.
load_dotenv('tokens/.env')
DISCORD_TOKEN = os.getenv('DISCORD_TOKEN')

load_dotenv('tokens/.env')
OPENAI_TOKEN = os.getenv('OPENAI_TOKEN')
openai.api_key = OPENAI_TOKEN

intents = discord.Intents.default()
intents.message_content = True
bot = commands.Bot(command_prefix='!', intents=intents)
Now we create a command called "mybot" which will be called as !mybot <prompt>. After using the OpenAI's APIs I created the below script for an AI Assitant. If you want to give a more specific system prompt, you can study the ChatGPT API docs.
@bot.command()
async def mybot(ctx, *args):
    try:
        prompt = ' '.join(args)
        response = openai.ChatCompletion.create(
            model="gpt-3.5-turbo",
            messages=[
                {"role": "system", "content": "You are an AI assistant inside a discord server. You are talking to a user. The user is asking you a question. You are going to answer the user's question in a simple and understandable way."},
                {"role": "user", "content": prompt}
            ]
        )
        reply = ""
        if not 'error' in response:
            reply = response['choices'][0]['message']['content']
            await ctx.channel.send(reply)

    except Exception:
        await ctx.channel.send("I'm sorry, I'm not able to help you right now. Please try again later.")

bot.run(DISCORD_TOKEN)
Now the bot with 1 command is ready. you can run it using the script below in the terminal:
python main.py
After the script runs, the discord bot is online.
You can test it:
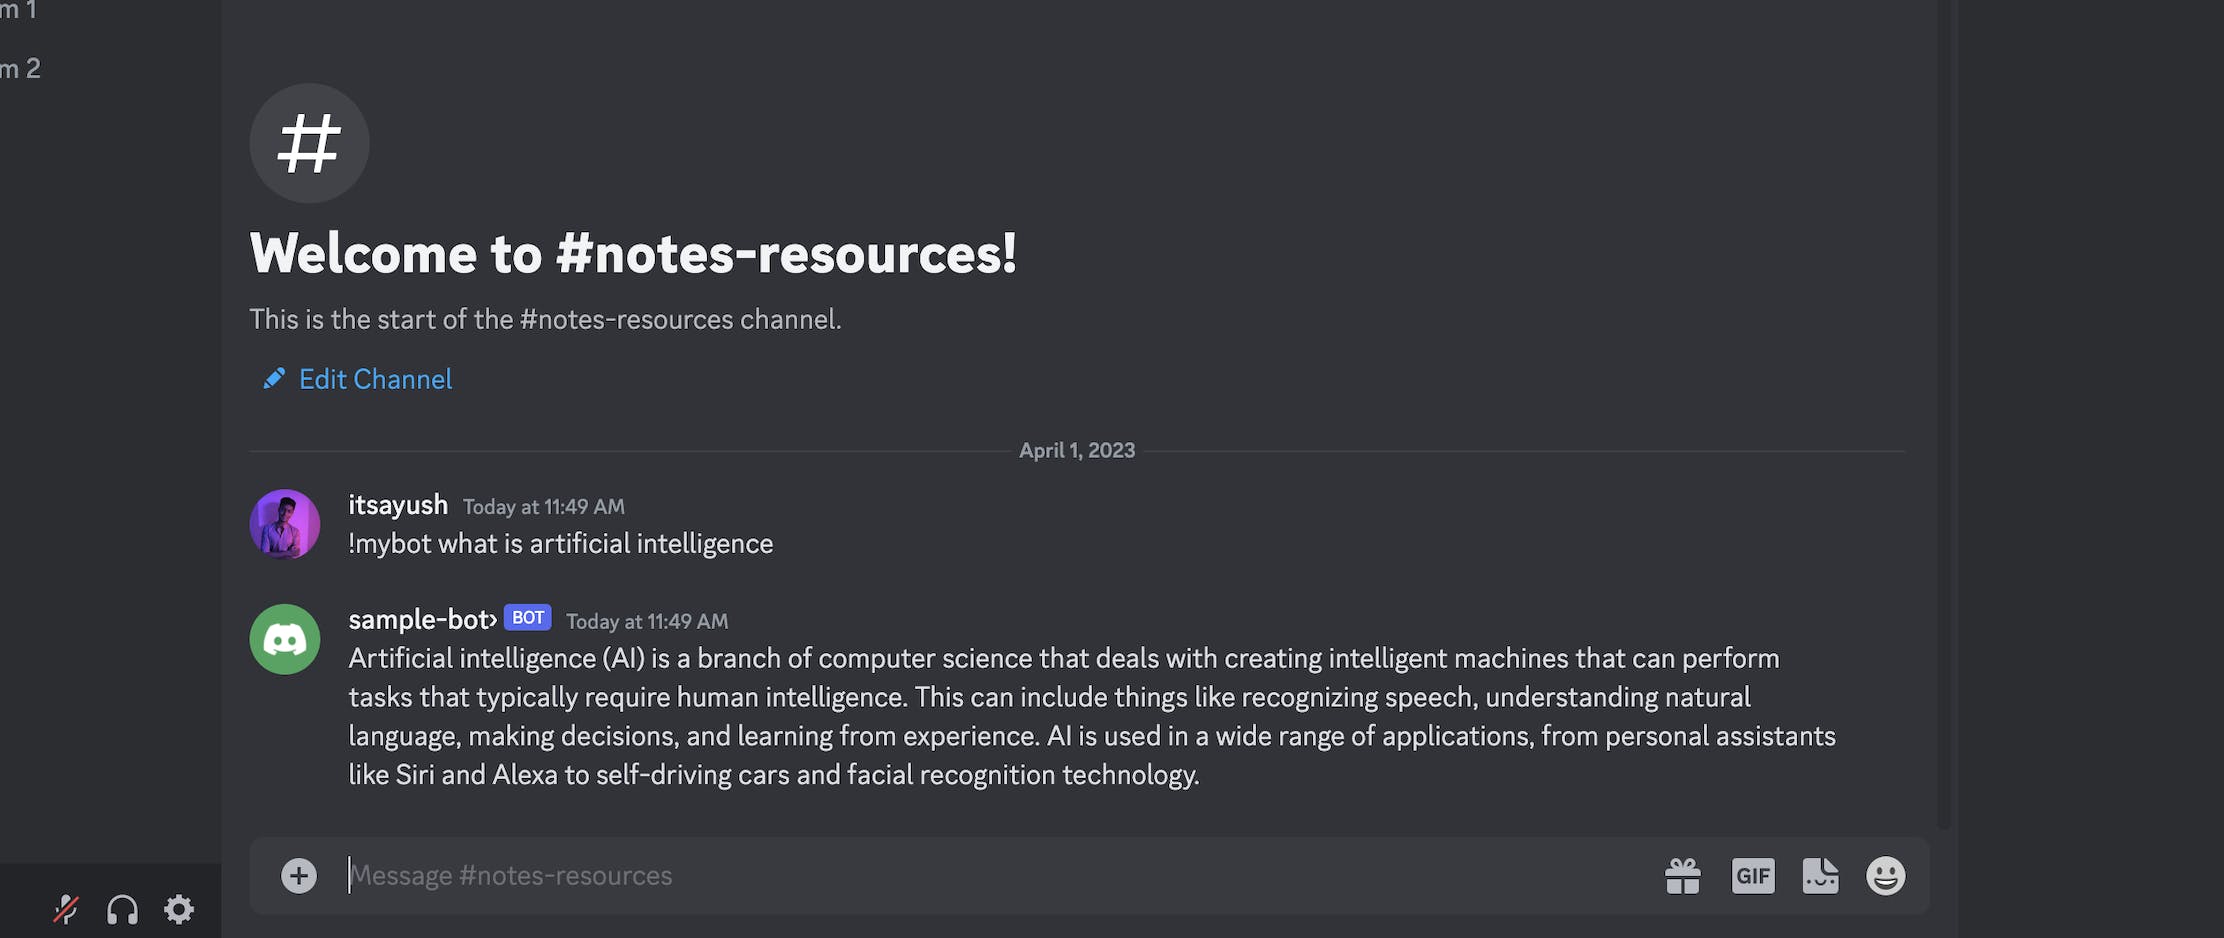
Congratulations! You have created your own Discord bot with ChatGPT API.
Deployment
Now we deploy it to the public so that other people can also use it on their servers. To do this, we need to make 2 more files- requirements.txt and a Dockerfile in the project's root folder. Create those files with the exact names as I wrote.
In the requirements.txt file paste the below code:
discord.py==2.2.2
openai==0.27.2
python-dotenv==1.0.0
In the Dockerfile, paste the below code:
FROM python:3.8

WORKDIR /app

COPY . .

RUN python3 -m pip install -U discord.py python-dotenv openai

CMD python -u ./main.py
Now if you understand Docker and Dockerfile then well and good. If you don't and you want to know more about it then check out my blog which explains it clearly.
Make sure docker is installed and running on your system(the full tutorial is in my blog).
Now paste the below code into the terminal to build a docker image of the project.
docker build -t samplebot:latest .
It will take some time to build the image and till then relax! You've made it through. Now deploy the image to Dockerhub, and paste the below commands in the terminal (Make sure you are logged through Docker CLI).
docker image tag samplebot:latest yourusername/samplebot:latest
docker image push yourusername/samplebot:latest
yourusername is your Dockerhub username.
After a while, the image will be deployed to Dockerhub and can be publicly used.

We will use this image to deploy the bot to cloud services. One of the deployment platforms is Fly.io. Use the documentation to install the fly CLI. The login by pasting the script below into the terminal:
fly auth login
Now as you are logged in, let's deploy the bot using image that we created. It happens with only 1 command below:
fly launch --image yourusername/samplebot:latest
After that just follow along and choose any server location you want to deploy to. I chose Chicago, Illinois. For rest settings use the default settings.
And Voila! You have successfully built and deployed your very own discord chatbot! Now share it with your friends and family using the URL we generated earlier on Discord Developers Portal.
My experience
I wanted to do something with the ChatGPT API so yesterday morning I just got an idea to create a discord bot using the API. I spent a few hours and created the bot with 10 commands. Basically, I made 10 chatting configurations. The Github link for my bot is here. Give it a star if you like the tutorial. The tweet that I did after making the "GPTalk" bot is linked below:
I hope you liked the tutorial and I will keep making such tutorials to add value to the developers' community.