Docker and Containers 101: Why should you use Docker and how to get started?
A basic tutorial to help you get started with Docker, containers and images!


Have you ever encountered a problem when working in a team and the code that runs on your teammate's system does not run on yours? Or suppose a problem when you're working on 2-3 different projects and all of them require a different version of Node.js to run without giving errors. Dealing with all of this can be a nail-biting task for many developers. To solve all of these problems, Docker comes into play!
Before diving into what Docker does, I would like to explain containers. Don't worry, all these new terms will start making sense in a while.
Introduction
Suppose you're going on a picnic with your friends and you prepare noodles and curry for your picnic. If you want to eat this tasty food while enjoying the view on the picnic then most probably you need cutlery and napkins. You pack everything into a picnic basket. Suppose the food you prepared was your application code and the cutlery is the dependencies your code requires to run without any errors, the same way cutlery is required to eat food on your picnic without any hassle. The basket where you keep all these things is your container!
Food => Application code
Cutlery => Dependencies
Picnic basket => Containers
Suppose you forget to keep the cutlery, napkins and basket then would you be able to distribute the food properly among your friends? Probably not. Then you might want to stop at some general store on the way to buy some disposable cutlery. This is the problem you face when you don't have the dependencies with you that your application needs. You might have the dependencies on your laptop but if you're going to run the project on your friend's laptop then you will install the dependencies on your friend's laptop too just like you would buy cutlery from the store.
Isn't it easier to keep everything in a basket and then just travel with it anywhere you want? If you have a picnic basket then you can have a tasty meal at the park, at your home and at your friend's home without worrying about whether the place you eat provides cutlery or not. In the same way, if you use containers, you wouldn't need to worry about whether or not the dependencies are installed on your friend's laptop or not. Therefore, containers are the solution.
docker.com defines container as follows:
A container is a standard unit of software that packages up code and all its dependencies so the application runs quickly and reliably from one computing environment to another.
Now, wouldn't it be nice if you had a template to prepare the Container? Yes, it would. Now here comes the role of an Image.
Images are the template/blueprint for the containers. Here is the difference:
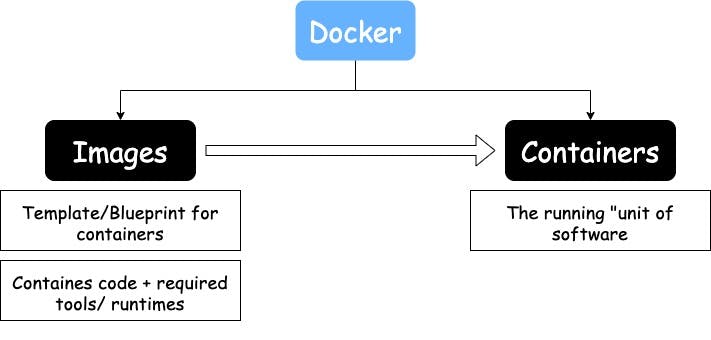
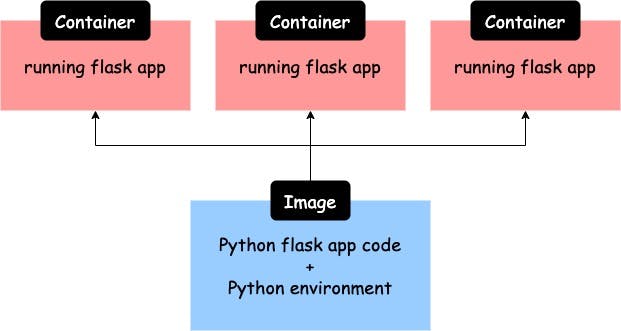
We can run multiple containers based on the same image. Now suppose, we created a Flask app. This is what the final running structure including the app inside the containers would look like:
You might be thinking that "How do we get an image?", "How do use these images and containers?", "How to get started?". Well, I'm going to answer all of these questions one at a time. First of all, we need an image! There are two ways of getting an image:
Use existing, pre-built images
Build an Image
For both ways, we're going to need to install Docker on our system. So first, let's do that and get ready with the prerequisites.
Prerequisites
Install Docker (Windows / Mac / Linux) - Click here
Windows installation tutorial - Click here
Mac installation tutorial - Click here
Ubuntu installation tutorial - Click here
Install VS Code - Click here
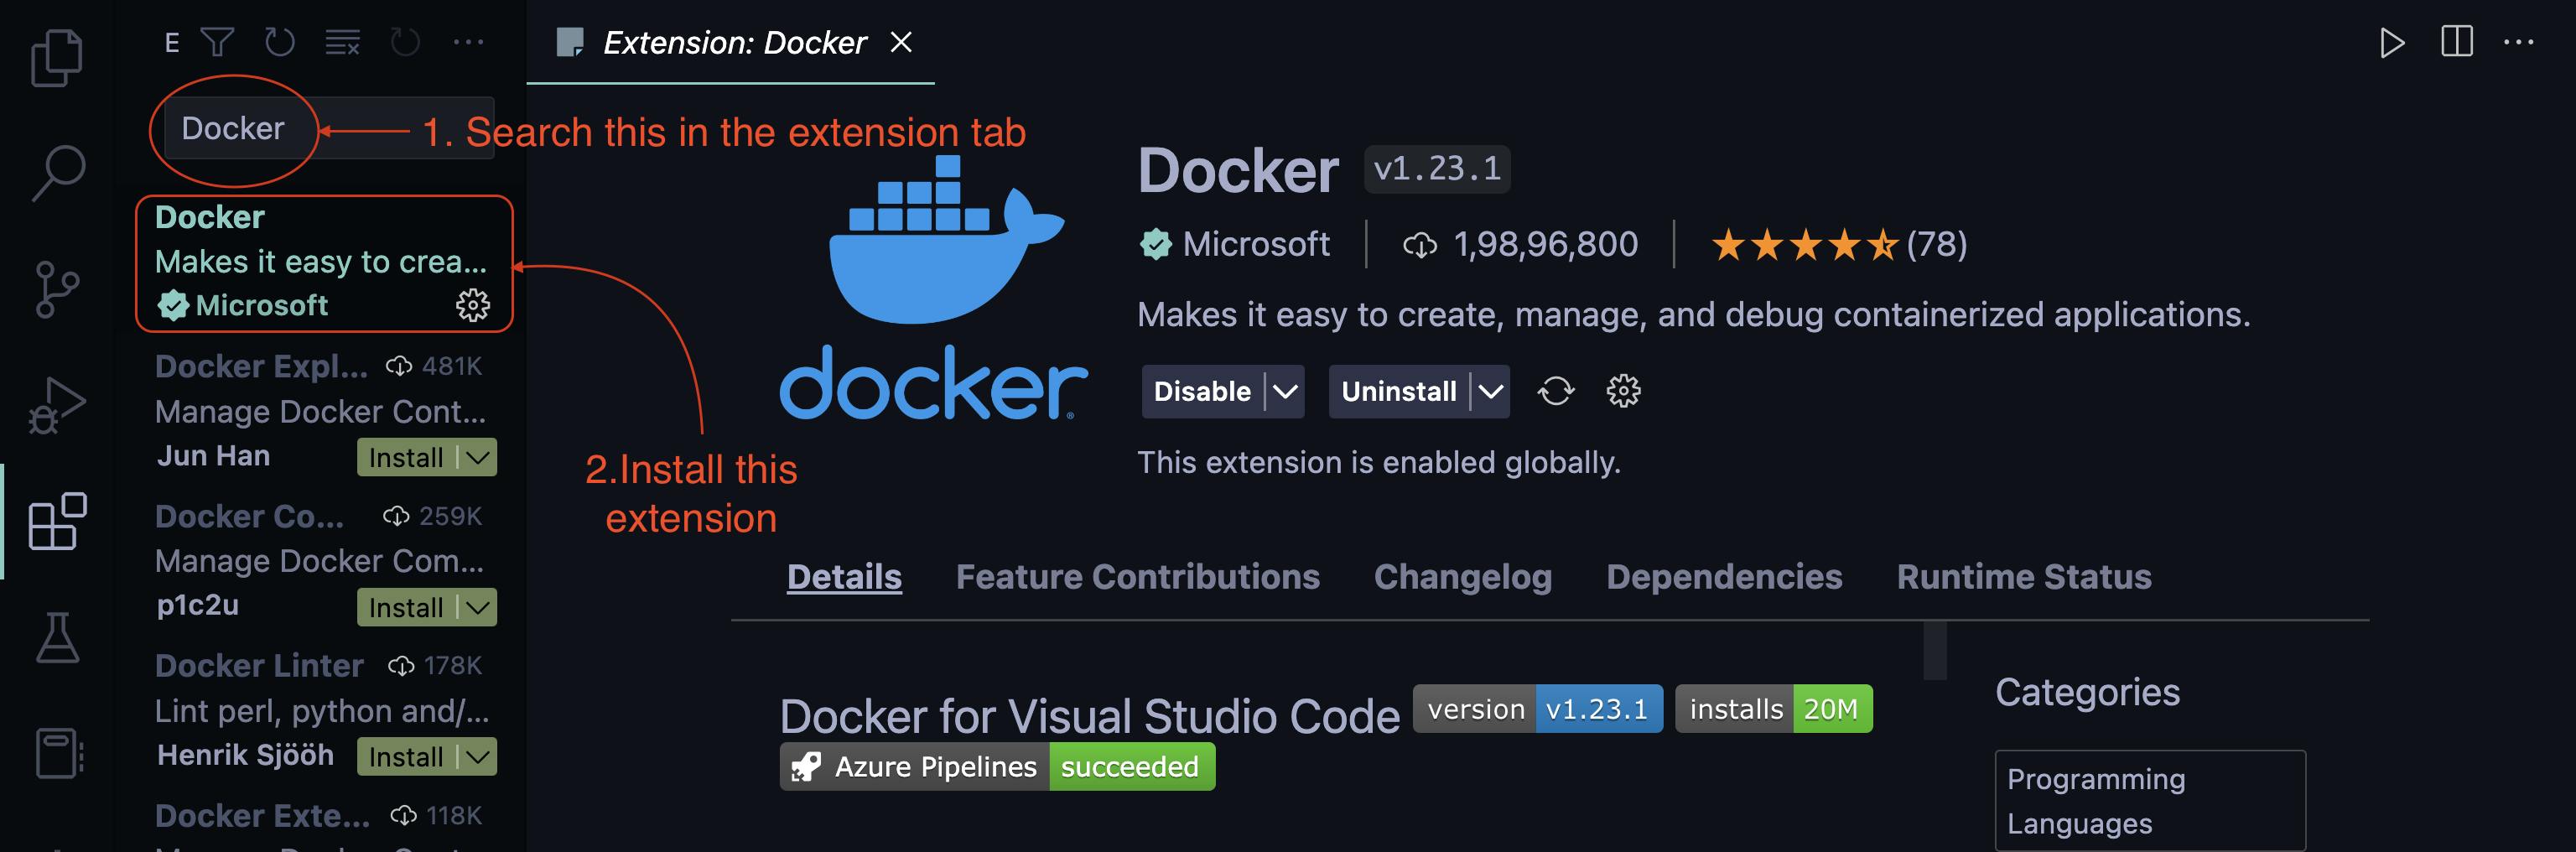
Open VSCode and install the Docker extension on VS Code:
To follow this tutorial, clone this repository - docker-sample(click here)
Start the Docker Desktop app
Using and Running Images and Containers
As I already mentioned, there are two ways of getting an image. The flowchart summarizes about both ways:
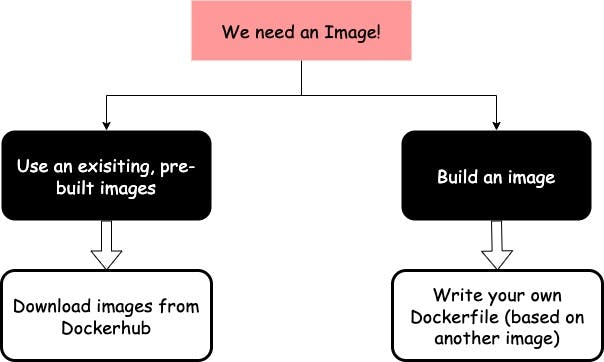
Dockerhub is a library and community for container images. You can see it like Github but for container images. You can push, pull and download containers from Dockerhub just like you do for code on Github.
Dockerfile is a text document that allows you to build images.
Now if you have cloned the repository you can follow along or even if you haven't, you can read further. I would recommend the former way if you really want to understand the stuff going on.
Building your own image with Dockerfile
So the repository you cloned is a basic Node.js app. But don't worry, you don't need node.js on your laptops/PCs to run the app. That's the beauty of it! Also, you don't need to know Node.js to understand further as we're going to deal with Docker and not Node.js.
First, open the app folder on VSCode. Here is the app.mjs code:
import express from 'express';
import connectToDatabase from './db.mjs'
const app = express();
app.get('/', (req, res) => {
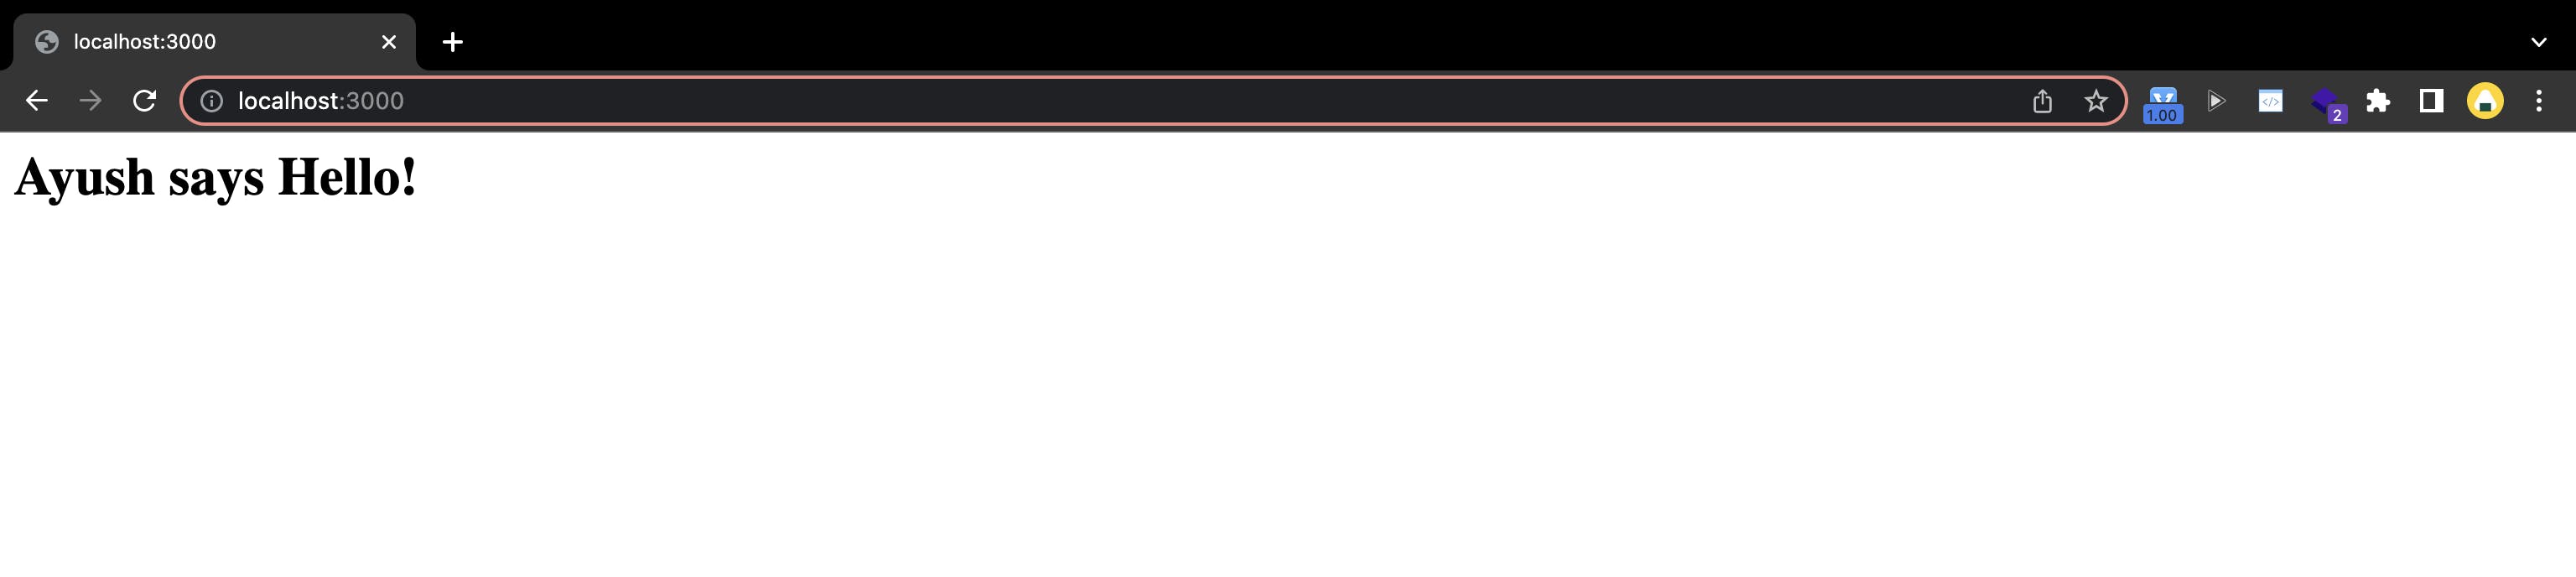
res.send('<h1>Ayush says Hello!</h1>');
});
await connectToDatabase();
app.listen(3000);
This is a basic node app that displays "Ayush says Hello!" on localhost:3000 . Note that this app contains await operator that works only on Node.js version 14 and above. Although you don't need Node.js installed on your system to run this app, we're going to run this app using a container based on an image that is built using the Dockerfile in the same app folder. Here is the Dockerfile:
FROM node:14

WORKDIR /app

COPY package.json .

RUN npm install

COPY . .

EXPOSE 3000

CMD ["node", "app.mjs"]
This Dockerfile will help you build the image. Understanding the Dockerfile needs a separate blog so for this blog, we will just stick to building images and running containers. Now, Open a terminal in VSCode and run the following command:
$ docker build .
The above command will start building an image(It takes a few minutes to build the image depending on your internet connection) and the output might look something like this:
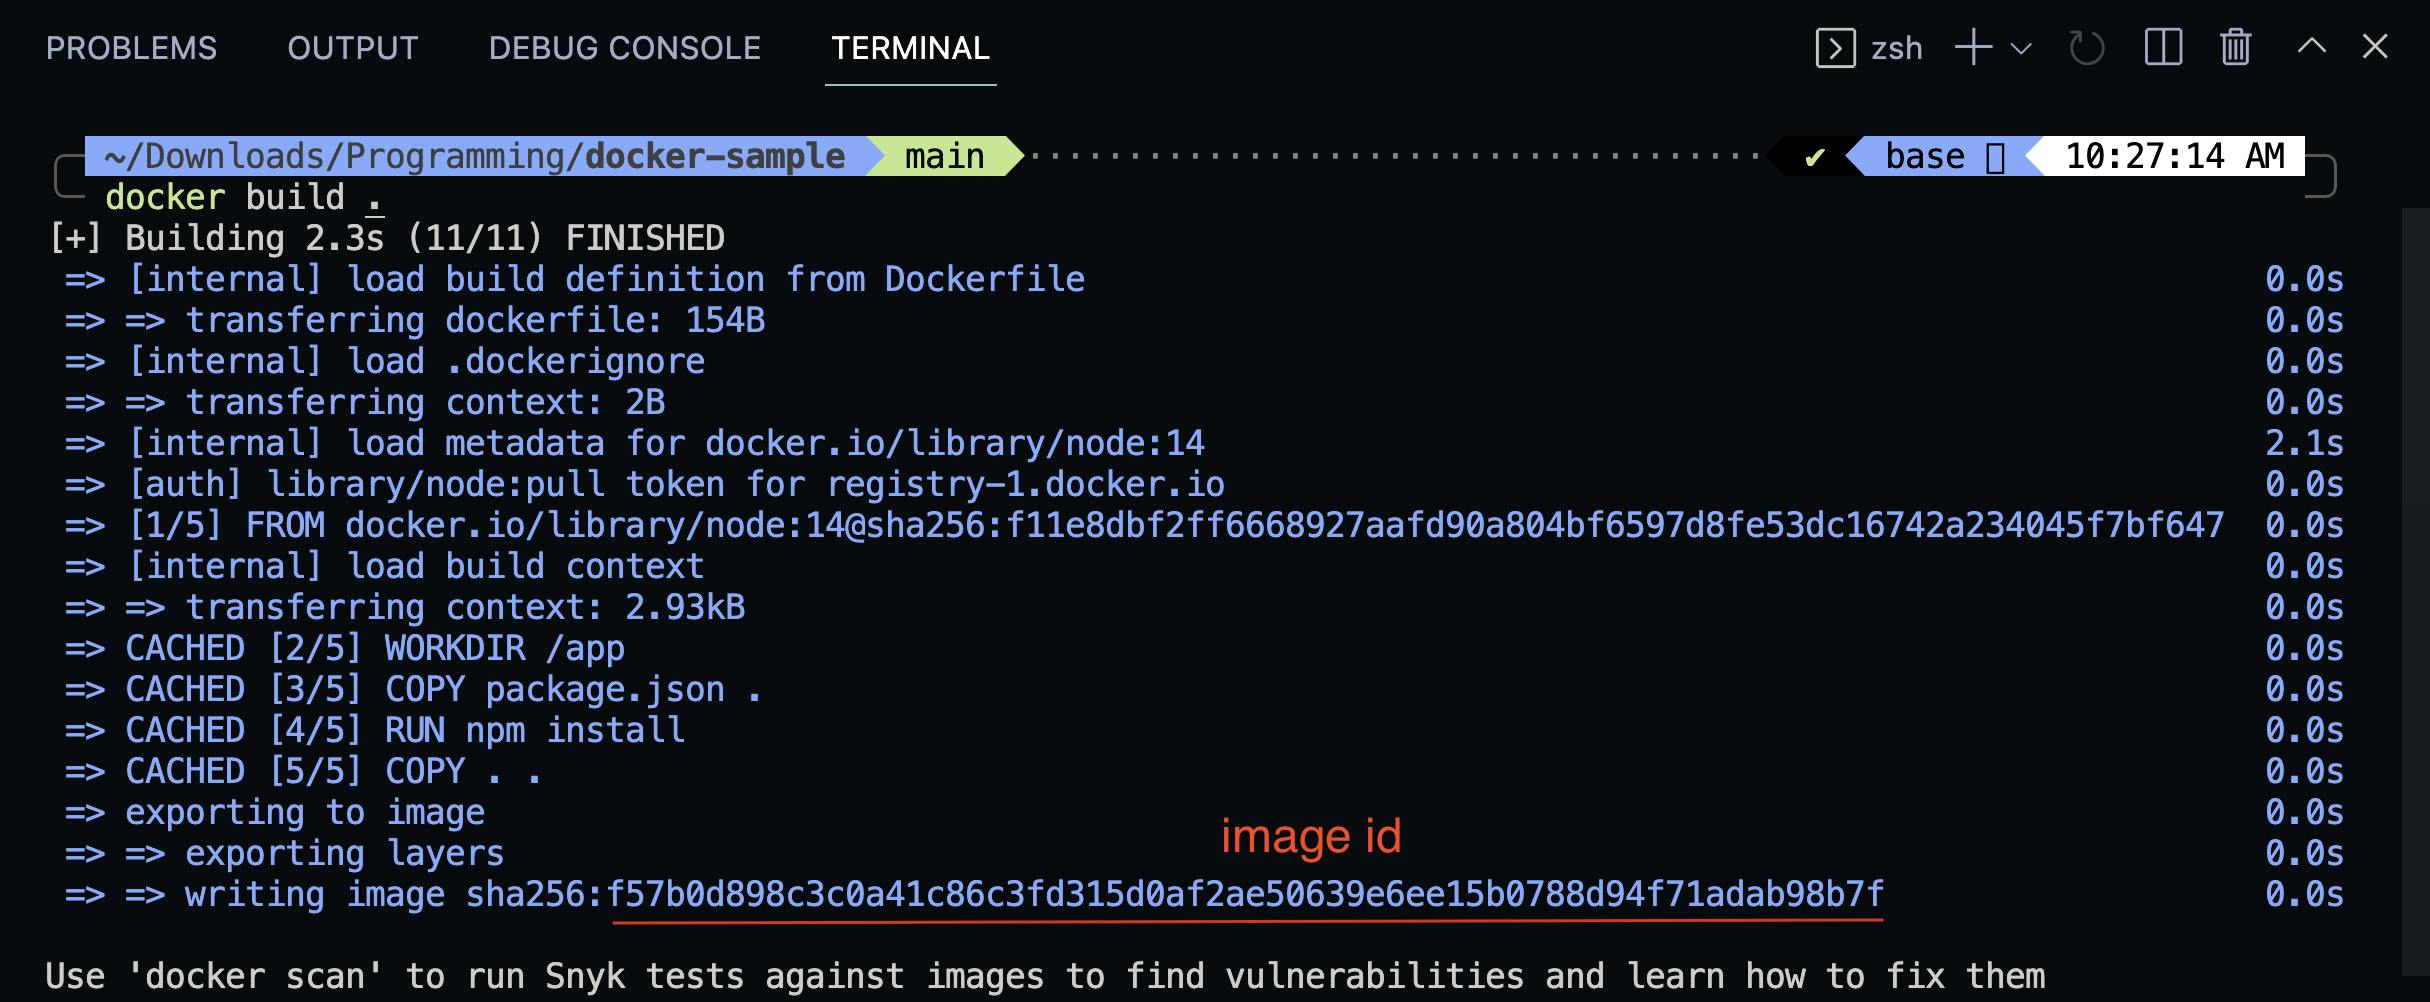
Finally, you will get an image id like shown above. This id may look long and scary and the id name can be set according to you with the command but we're not concerned with that right now. For using the image id, you can just use the first few characters of the image id instead of the whole image id( in this case I will use "f57b0"). Now to run a container based on the built image using the following command(replace your_img_id with the image id name you got after building your image):
$ docker run -p 3000:3000 your_img_id
The Terminal will look like this(Note that you cannot run any commands in this terminal once you run this command so you need to open a new terminal for further commands):

Now go to http://localhost:3000/ and you can see that the app runs:
You just built an image and ran a container based on it! Now to stop the container you need to know the container name. In this case, Docker will automatically assign the container a name and you can find the container name using the following command:
$ docker ps
The Container name is displayed here:

You can now stop the container using the command(in my case $ docker stop musing_noyce):
$ docker stop container_name
Conclusion
Well, this is it with the basics of Docker, Container and Images. I tried my best in my first attempt of writing a blog on Hashnode. I hope you got a clear understanding of the same. If you liked the blog then do share it on socials and/or with your friends and peers. Thank you all for reading this!